
To measure decibel reduction after adding area rugs, start by conducting a baseline sound level test using a reliable, calibrated sound level meter in a controlled environment. Place the rugs strategically, covering high-traffic or echo-prone areas, then remeasure the noise levels. Comparing these measurements reveals how much sound absorption you gain. Ensuring consistent measurement conditions helps accurately assess the impact—keep exploring to learn how to optimize your acoustic makeover further.
Key Takeaways
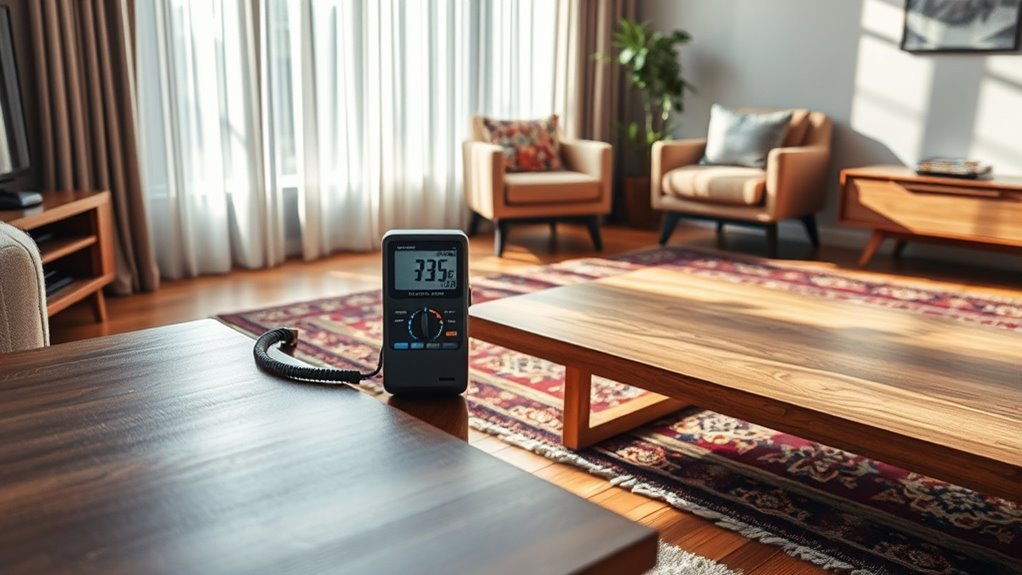
- Use a calibrated sound level meter to record baseline decibel levels before adding rugs.
- Place measurement equipment consistently away from walls and corners for accurate readings.
- Conduct tests during quiet periods, controlling environmental factors like background noise and room acoustics.
- Measure decibel levels at multiple times and locations within the room to capture variations.
- Compare pre- and post-rug decibel readings to quantify the noise reduction achieved.
Top picks for "acoustic makeover measur"
As an affiliate, we earn on qualifying purchases.
Understanding Sound Absorption and Decibel Levels
When it comes to managing sound in a space, understanding how sound absorption works is essential. Soundproofing techniques, like acoustic panel installation, help reduce noise by absorbing sound waves before they bounce around. These panels are designed to improve the room’s acoustic quality and lower decibel levels. By strategically placing acoustic panels, you can minimize echo and background noise, making your space quieter and more comfortable. It’s important to recognize that absorption isn’t about blocking sound entirely but controlling how it interacts with your environment. Measures such as decibel measurement before and after installing soundproofing solutions give you a clear idea of their effectiveness. Additionally, advancements in acoustic technology continue to improve sound absorption methods, making it easier to create a more peaceful environment. Understanding the role of AI in discovering new sound absorption materials showcases how innovative solutions can further optimize acoustic treatments. Knowing how sound absorption works empowers you to choose the right techniques to create a more acoustically balanced space.
Selecting the Right Area Rugs for Acoustic Benefits
Choosing the right area rugs can be regarded as crucial to improve your room’s acoustics, but it starts with understanding material and fiber types. You’ll want to think about rug size and strategic placement to maximize sound absorption. Additionally, selecting diverse designs that complement your decor can enhance the aesthetic appeal while optimizing acoustic benefits. The specific fiber composition of a rug influences its sound-absorbing qualities, making material choice an essential factor. For optimal results, consider how rug density affects its ability to dampen sound and contribute to a quieter space. Understanding the behavior of sound waves within a room can further help in selecting the most effective rug features. By selecting thoughtfully, you can create a quieter, more comfortable space.
Material and Fiber Types
Selecting the right material and fiber type for your area rug can substantially enhance its acoustic benefits. Different fiber types have unique material characteristics that influence sound absorption. Natural fibers like wool are dense and excellent at reducing noise, while synthetic fibers such as nylon or polypropylene tend to be less effective acoustically but offer durability. Understanding these material characteristics helps you choose a rug that maximizes sound dampening. Here’s a quick comparison:
| Fiber Type | Material Characteristics |
|---|---|
| Wool | Dense, soft, high sound absorption |
| Nylon | Durable, less dense, moderate absorption |
| Polyester | Lightweight, easy to clean, lower absorption |
| Jute | Coarse, natural, moderate sound dampening |
| Olefin | Synthetic, moisture-resistant, lower absorption |
Additionally, considering the fiber density of the rug can significantly impact its effectiveness in sound absorption. Using sound absorption properties as a guide can help you select the most effective option for your space.
Size and Placement Strategies
To maximize the acoustic benefits of your area rug, paying careful attention to its size and placement is essential. Choose a rug size that covers high-traffic or sound-sensitive areas, such as under sofas or in front of doorways. Larger rugs generally provide better sound absorption by reducing echoes and noise transmission, so opt for the biggest rug that fits comfortably in your space. Proper rug placement also matters: position your rug where it can intercept sound waves, like across the center of a room or beneath seating arrangements. Avoid small, isolated rugs that don’t cover enough surface area to make a difference. Additionally, using sound-absorbing materials in your rug’s construction can further enhance its acoustic performance. Understanding Vortex principles and how sound interacts within a space can help you choose the most effective placement for optimal noise reduction. Recognizing the importance of furnishing choices can also influence how sound is absorbed and reflected throughout your room. Incorporating acoustic design strategies, such as layering rugs with other soft furnishings, can significantly improve your room’s sound quality. By selecting the right size and strategically placing your rug, you’ll considerably enhance your room’s acoustic environment.
Setting Up a Sound Measurement Environment
To get accurate sound measurements, you need to choose the right equipment that suits your space and goals. Clear your testing area of distractions and set it up in a consistent location to guarantee reliable results. Additionally, maintaining consistent environmental conditions such as temperature and background noise steady helps make meaningful comparisons over time. Monitoring store hours can also help you plan measurements during times of minimal activity for more precise readings. Being aware of noise pollution levels in your area can further help in selecting optimal times for testing and ensuring measurement accuracy. Regularly checking air quality indices can also provide insights into how environmental factors may influence sound levels during your measurements.
Selecting Measurement Equipment
Choosing the right measurement equipment is vital for accurately evaluating your acoustic environment. To effectively assess noise pollution and determine the impact of your soundproofing techniques, you need reliable tools. A calibrated sound level meter is ideal for capturing precise decibel readings, helping you identify areas with excessive noise. Consider investing in a device that can record both average and peak sound levels, so you get an all-encompassing picture of your space’s noise profile. Make certain your equipment is suitable for the environment—portable meters work well for different rooms. Proper calibration and placement are essential for accurate results. By selecting high-quality, calibrated devices, you’ll confidently measure decibel reduction and fine-tune your soundproofing efforts for better acoustic comfort. Additionally, understanding the decibel levels of various sounds can help you set realistic goals for your noise reduction project. Incorporating appropriate measurement techniques can further enhance the accuracy of your assessments and ensure your soundproofing is effectively reducing noise. Employing consistent measurement practices ensures reliable comparisons over time and helps track your progress accurately. To optimize your results, consider the environmental conditions that may affect sound readings, such as background noise or room acoustics.
Establishing Testing Area
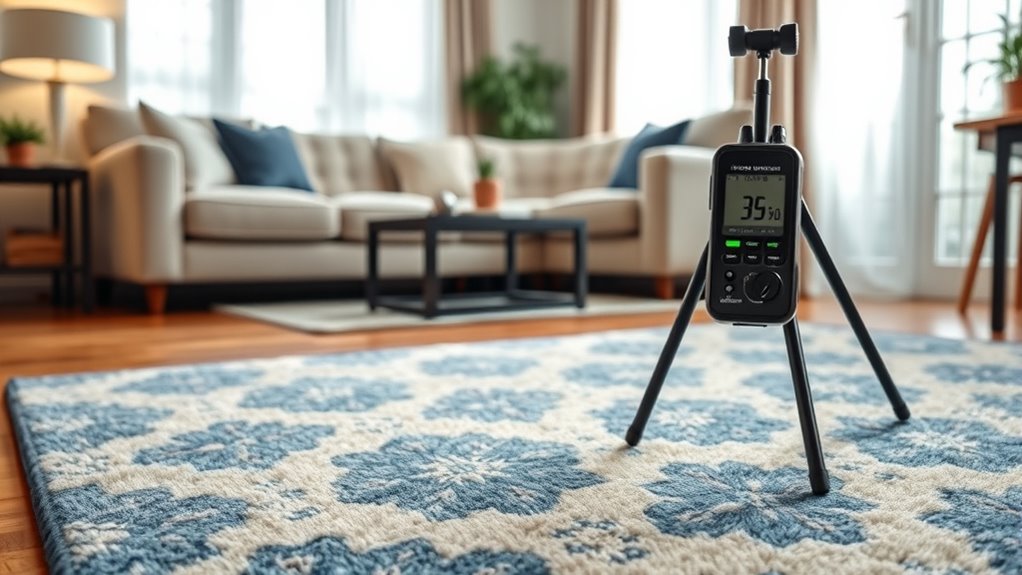
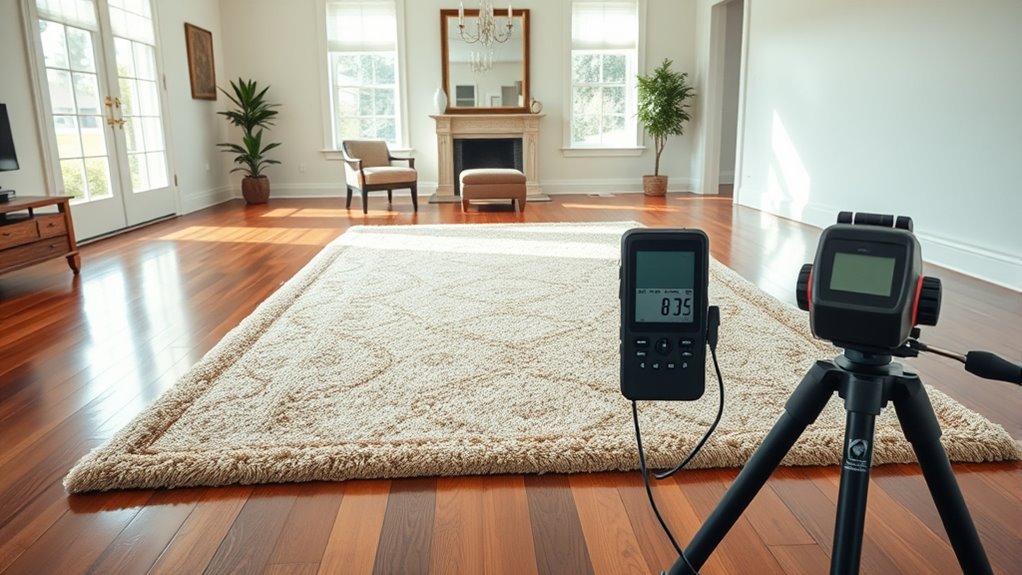
Establishing a proper testing area is essential for obtaining accurate sound measurements. You want a space that minimizes external influences and noise pollution, ensuring your results reflect true changes from added area rugs. Choose a quiet, enclosed room with minimal foot traffic and external noise sources. Use soundproofing techniques like sealing gaps around doors and windows to prevent sound leaks. Keep the room free of clutter and reflective surfaces that could distort measurements. Position your measurement equipment away from corners or walls that can amplify sound. Consistency in your setup is key, so replicate the environment for each test. Additionally, selecting a room with minimal echo and sound-absorbing surfaces can significantly improve measurement accuracy. By carefully establishing this environment, you’ll ensure your decibel readings accurately capture the impact of your soundproofing efforts.
Ensuring Consistent Conditions
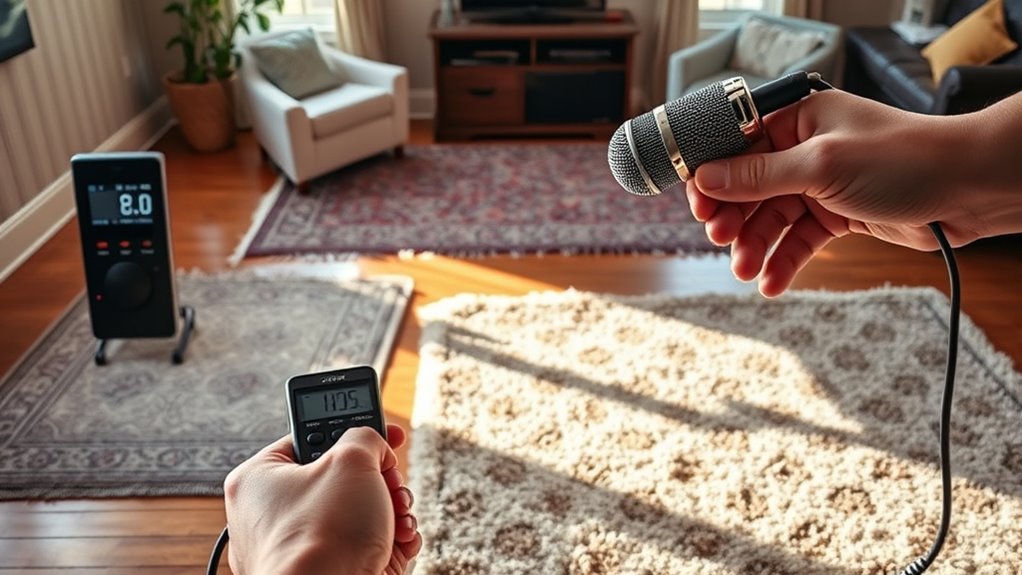
Once you’ve set up a suitable testing area, maintaining consistent conditions during each measurement is essential for accurate comparisons. To achieve this, ensure your microphone and sound level meter are positioned consistently, using pattern matching techniques to place equipment at the same spot each time. Keep ambient noise levels steady by closing windows, turning off fans, and minimizing household activity. Record measurements when the environment is quiet and stable, avoiding times when external noise fluctuates. Consistent conditions help isolate the impact of your area rug on sound levels. By controlling variables and matching patterns in your setup, you ensure that differences you observe truly reflect changes in acoustics, not measurement inconsistencies. This approach guarantees reliable, comparable results throughout your testing process.
Tools and Methods for Measuring Decibel Reduction
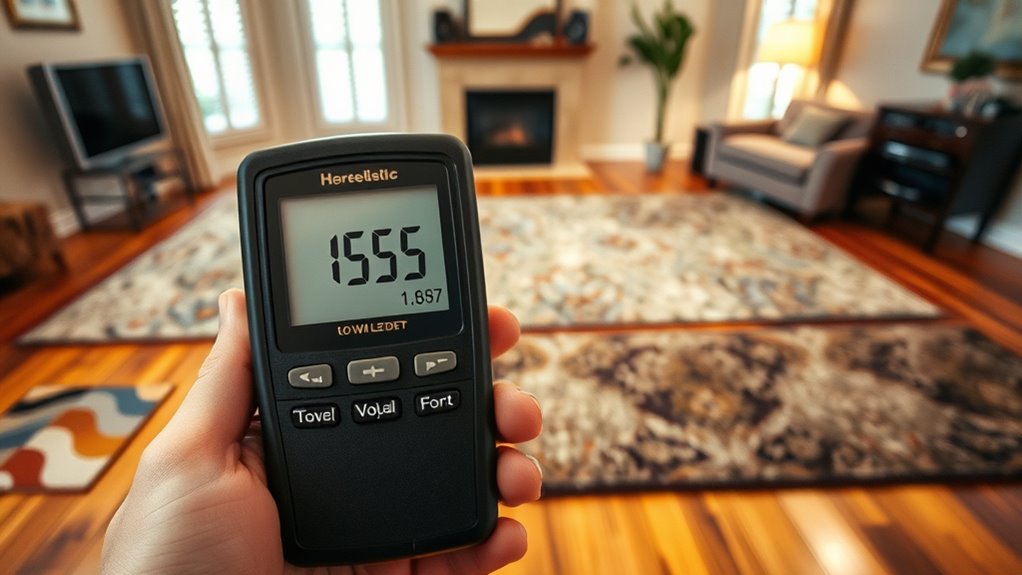
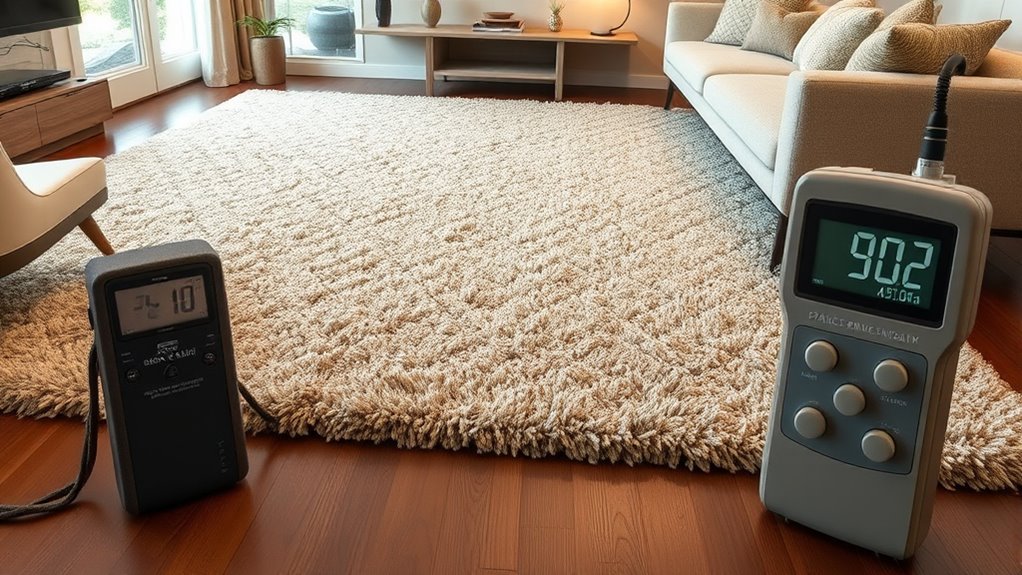
To accurately assess how much noise has been reduced, you need reliable tools and methods for measuring decibel levels. A digital sound level meter is essential—it provides precise readings of ambient noise before and after adding area rugs, soundproof curtains, or acoustic panels. These devices are user-friendly and give instant feedback. You can also use smartphone apps, but they may be less accurate. When measuring, ensure consistency in your environment to avoid skewed results. The table below highlights common tools:
| Tool | Purpose | Best for |
|---|---|---|
| Digital sound level meter | Accurate decibel measurement | Baseline and post-installation testing |
| Smartphone apps | Quick, convenient readings | Spot checks |
| Calibration equipment | Ensures device accuracy | Precise professional use |
These tools help you gauge the effectiveness of your acoustic improvements, like acoustic panels or soundproof curtains.
Conducting Baseline Noise Level Tests
Before measuring how much your noise levels have dropped, you need to establish a clear baseline. Start by recording the current sound levels in your space during typical activities. Use a reliable sound level meter and take multiple readings at different times of the day to account for fluctuations. Make certain your environment is consistent, avoiding loud or disruptive noises during testing. Consider how soundproof curtains and ceiling insulation might influence your baseline, as they can impact initial measurements. Document your readings carefully, noting the decibel levels and conditions. This baseline will serve as the reference point for future comparisons after adding rugs or other soundproofing solutions. Accurate baseline data helps you objectively measure the effectiveness of your acoustic improvements.
Placing Rugs and Recording Post-Installation Sound Levels
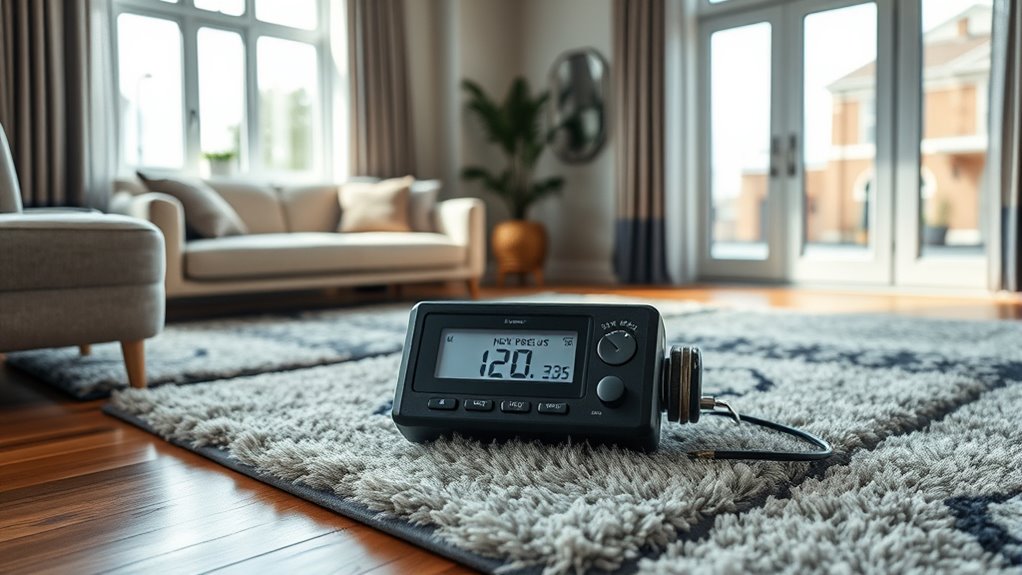
Placing rugs in your space can considerably reduce sound reflections and absorb noise, but it’s important to verify the results accurately. Before measuring sound levels, ensure the rugs are clean, as rug cleaning can impact their sound-absorbing qualities. Choose your rugs with pattern selection in mind; denser, textured patterns generally offer better noise reduction. Once positioned, use a decibel meter to record post-installation sound levels at consistent points and times, ideally matching your baseline tests. Keep notes on rug placement, size, and pattern to track changes effectively. This systematic approach helps you compare pre- and post-installation data accurately, providing clear insights into how your new rugs influence acoustic performance. Proper documentation ensures you measure the true impact of your rug placement.
Analyzing the Impact: Interpreting the Data
Once you’ve gathered your sound level measurements before and after placing rugs, the next step is to analyze what the data reveals about your acoustic environment. Start with frequency analysis to identify which sound ranges saw the most reduction. Rugs typically absorb mid to high frequencies, so look for noticeable decreases in these areas. This helps you understand how your rugs are affecting noise masking—the way background sounds blend and soften overall noise. If certain frequencies remain loud, it could suggest the need for additional or different treatments. Comparing the pre- and post-installation data allows you to evaluate your rugs’ effectiveness objectively. This analysis guides future decisions, ensuring your space stays quieter and more comfortable.
Tips for Maximizing Noise Reduction With Rugs
To maximize noise reduction with rugs, focus on strategic placement and coverage. Place rugs in high-traffic areas and under furniture to absorb sound effectively. Ensure the rugs cover enough surface area to make a noticeable difference; thinner rugs won’t dampen noise as well as plush, dense ones. Regular rug maintenance, like vacuuming and rotating, keeps fibers plush and effective at sound absorption. Don’t overlook aesthetic considerations—choose rugs that complement your decor while maintaining their acoustic function. Layering rugs or combining different textures can enhance both style and soundproofing. Proper placement and upkeep are key to optimizing noise reduction without sacrificing visual appeal. With these tips, you’ll create a quieter, more comfortable space that looks great too.
Frequently Asked Questions
How Long Should I Wait After Placing Rugs to Measure Decibel Changes?
You should wait at least 24 to 48 hours after rug placement to measure decibel changes. This allows the rugs to settle and any environmental factors to stabilize. Take initial measurements before placing the rugs for comparison. Once you’ve installed the rugs, give the room some time for the sound absorption effects to manifest. Then, retake your measurements to accurately assess the impact of your rug placement on noise reduction.
Do Different Rug Materials Affect Sound Absorption Differently?
Think of your room as a concert hall, and your rug material as the instruments shaping sound. Different rug materials, like wool or synthetic fibers, act like varied instruments, affecting sound absorption differently. Wool, with its dense fibers, absorbs more sound, much like a bass drum, while synthetic rugs might reflect more, like a cymbal. So, yes, your rug material profoundly influences how well your space dampens noise.
Can Area Rugs Reduce Noise From Specific Sources Like Footsteps or Voices?
Yes, area rugs can help reduce noise from specific sources like footstep noise and voice muffling. When you place rugs in high-traffic areas, they absorb impact sounds from footsteps, making them less disruptive. Additionally, rugs can dampen voices, preventing sound from bouncing around your space. You’ll notice a quieter environment because the rug material and thickness enhance sound absorption, creating a more peaceful atmosphere.
Is There an Optimal Rug Thickness for Maximum Decibel Reduction?
You wonder if there’s an ideal rug thickness for maximum decibel reduction. Generally, thicker rugs with higher rug thickness and ideal density absorb more sound, especially footsteps and voices. Aim for a rug thickness of at least half an inch, but thicker options can provide better noise control. The key is balancing rug thickness with density to achieve the best decibel reduction, so choose a rug that’s both plush and dense for optimal results.
How Often Should Sound Levels Be Retested After Installing New Rugs?
You should perform sound level monitoring regularly, ideally every few weeks, to guarantee consistent noise reduction. The test frequency depends on factors like room usage and rug changes. After installing new rugs, retest your sound levels at least once a month for the first few months, then adjust based on whether noise levels stay stable. Consistent testing helps you verify if your acoustic improvements are effective over time.
Conclusion
By measuring decibel levels before and after adding area rugs, you can see their real impact on noise reduction. For example, imagine lowering your living room’s noise from 65 dB to 58 dB—making your space quieter for conversations or relaxing. These simple steps help you make informed decisions, ensuring your rugs truly improve your home’s acoustics. With the right approach, you’ll enjoy a more peaceful and comfortable environment in no time.