
To light artwork like a gallery without harsh glare, choose LED fixtures with high CRI and adjustable color temperatures around 3000K to maintain color accuracy. Position lights at about 30° angles from the artwork, using diffusers and filters to soften the light and prevent reflections. Incorporate dimmers and adjustable fixtures to control brightness and avoid hotspots. Carefully set the lighting to highlight textures and details while safeguarding your art’s vibrancy — discover more expert tips below.
Key Takeaways
- Use adjustable, low-heat LED lights with high CRI, positioned at approximately 30° angles to minimize glare.
- Diffuse light with frosted glass, fabric, or plastic filters to soften illumination and prevent harsh reflections.
- Place fixtures slightly tilted and regularly fine-tune angles to achieve even coverage and reduce hot spots.
- Incorporate dimmers and adjustable fixtures to control brightness and prevent overexposure or glare.
- Avoid direct overhead lighting; opt for multiple light sources and precise placement to highlight artwork without harsh shadows.

Glendan LED Picture Light: Adjustable Aperture with Zoomable Projection — 2700–6500K High CRI Flicker-Free Smart Control — Perfect Art Light for Artwork in Museums and Galleries
Vivid Viewing Experience: This led picture light integrates anti-glare optics, high CRI 95+, and ultra-clear projection. Visitors enjoy…
As an affiliate, we earn on qualifying purchases.
As an affiliate, we earn on qualifying purchases.
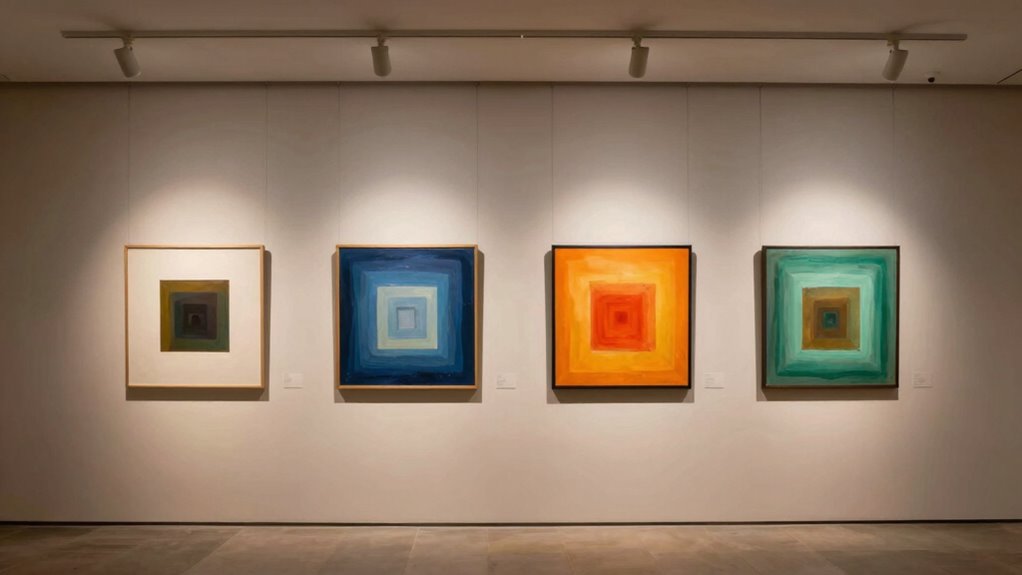
Understand the Basics of Lighting Artwork Like a Gallery
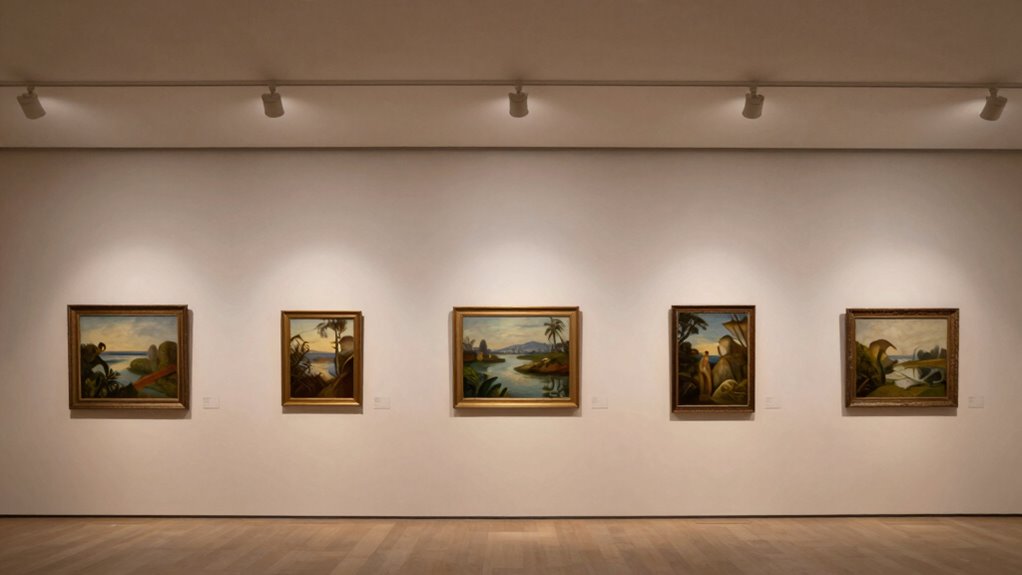
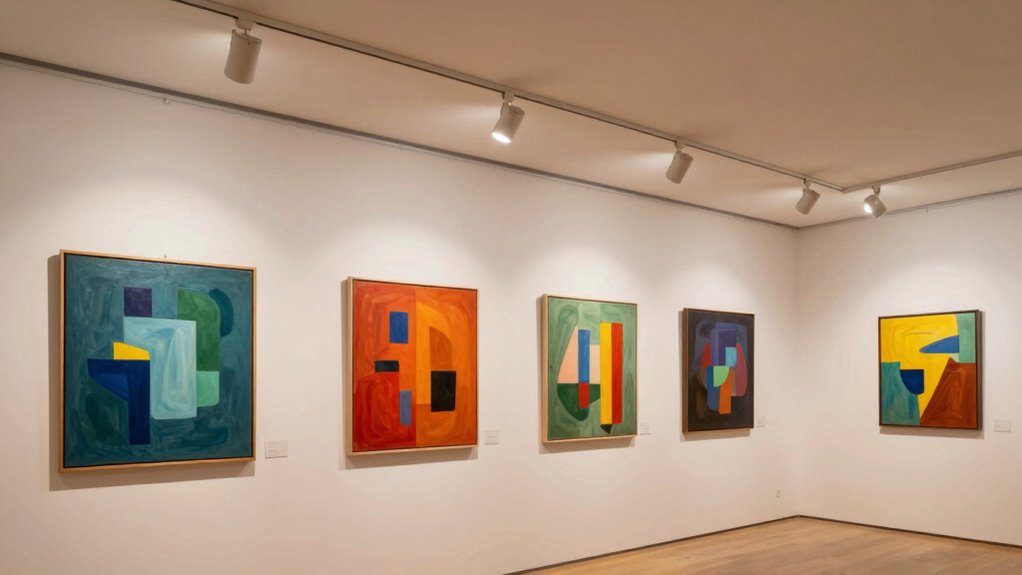
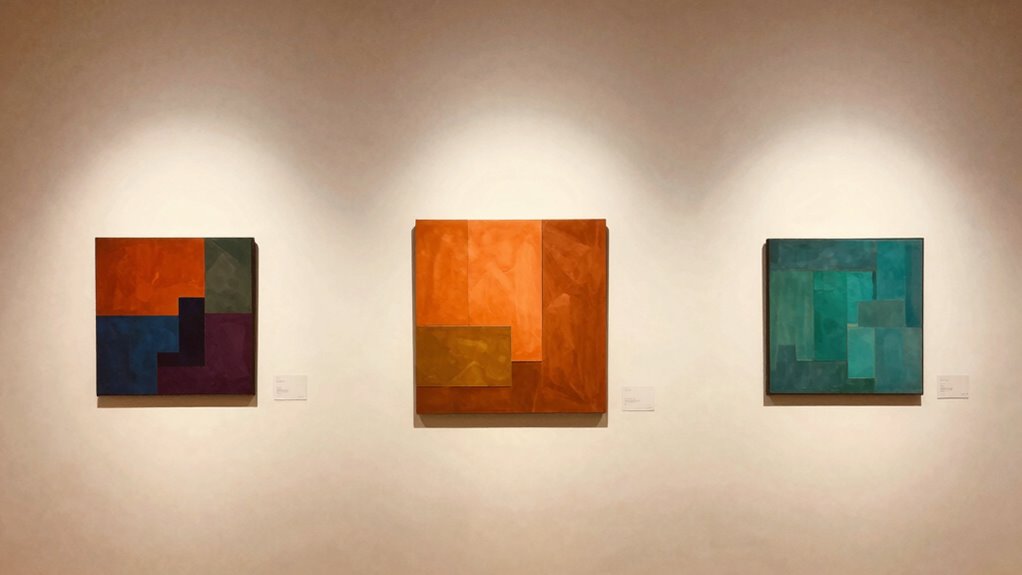
To effectively showcase artwork like a gallery, you need to understand the fundamental principles of lighting. Gallery aesthetics focus on creating a visually pleasing environment that highlights each piece’s unique qualities. Lighting psychology plays a pivotal role by influencing how viewers perceive and feel about the artwork; warm lighting can evoke comfort, while cooler tones create a sense of modernity. Proper lighting emphasizes details, textures, and colors without overwhelming the art or causing glare. Balancing light intensity and direction is essential to maintain harmony within the space. Additionally, energy efficiency is important to consider when selecting lighting options to ensure sustainability and reduce environmental impact. By mastering these basic concepts, you set the foundation for a mesmerizing display that engages viewers, enhances the art’s appeal, and preserves its integrity.

EUSTUMA LED Light Base Non-Slip Square Display Stand In A Variety of Colors,Suitable for Glass Crystal Spherical Artwork (Flat Top Surface)
PRODUCT PARAMETERS: 2.7 inches in diameter and 1 inch in height. There are 1 mm protrusions on the…
As an affiliate, we earn on qualifying purchases.
As an affiliate, we earn on qualifying purchases.
Choose the Best Light Sources to Minimize Glare and Keep Colors Accurate
Selecting the right light sources is essential for minimizing glare and ensuring that colors remain true to life. LED options are ideal because they emit minimal heat and have adjustable color temperatures, helping you avoid harsh reflections. Look for LEDs with high CRI (Color Rendering Index) ratings to accurately display artwork colors. Incorporating lighting automation allows you to control brightness and color settings precisely, reducing the risk of accidental glare or color distortion. Automated systems can adapt lighting throughout the day or for different exhibits, maintaining consistent, glare-free illumination. Avoid overly bright or poorly shielded bulbs, and choose fixtures designed for artwork display. By selecting appropriate LED options and leveraging lighting automation, you create a gallery-quality environment that showcases art beautifully without harsh glare. Additionally, understanding lighting techniques can further enhance how artworks are presented under different conditions.
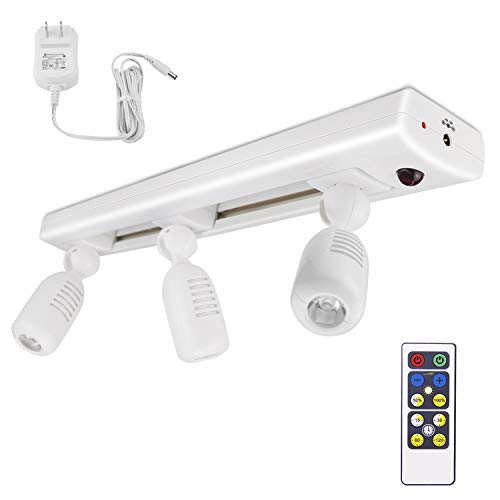
BIGLIGHT LED Track Light, Dimmable Accent Lighting with Rotatable Heads, Plug in Spotlight with Remote for Lighting up Kitchen Sink Cabinet Gallery Picture Bathroom Basement Artwork
Remote Controlled & Super Bright – With the provided handy remote, you can control the track light with…
As an affiliate, we earn on qualifying purchases.
As an affiliate, we earn on qualifying purchases.
Position Your Lights Strategically to Highlight Art Without Harsh Shadows
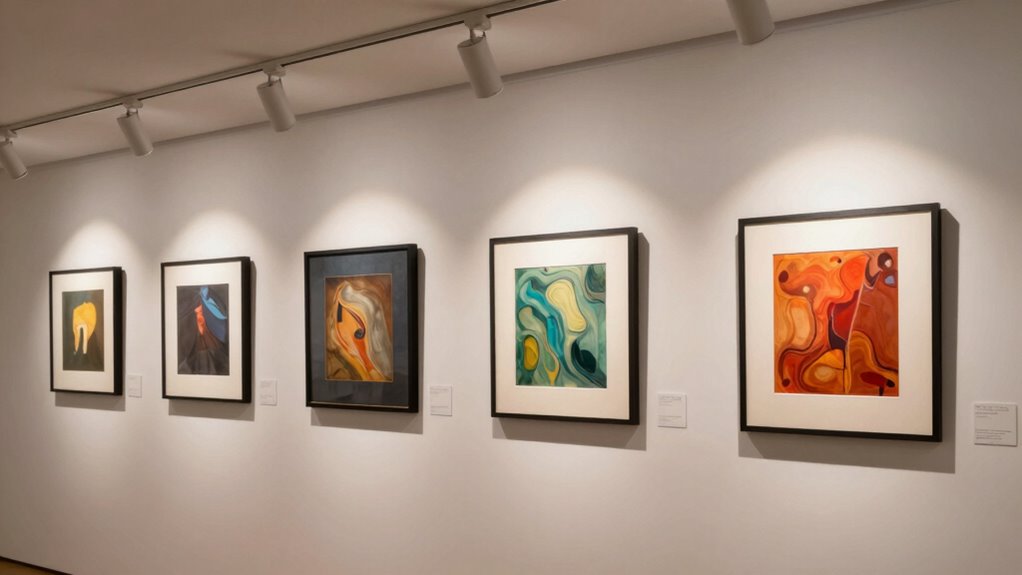
Properly positioning your lights is key to showcasing artwork without creating harsh shadows that distract or obscure details. To achieve this, consider the artwork framing and how gallery lighting can be optimized. Place lights at angles that evenly illuminate the piece, typically about 30 degrees from the vertical, to minimize shadows behind or beneath the artwork. Avoid placing lights directly overhead or too close to the surface, as this can generate unwanted glare or deep shadows. Use multiple light sources if necessary to balance illumination and highlight textures without overpowering the piece. Adjust the height and angle until the light evenly covers the artwork, emphasizing its features without casting distracting shadows. Strategic placement enhances the visual impact while maintaining a clean, professional gallery lighting setup. Additionally, understanding lighting techniques can help you further refine your setup for optimal results.

Coinmit 9W Picture Light Plug in, 24" Adjustable LED Art Light with Remote Control, Dimmable Wall Light for Picture Display Dartboard Art Work (Black)
【Specification】Power 9 watts. Plug-in picture light is 60 cm (24 inches) long. It can telescope back and forth…
As an affiliate, we earn on qualifying purchases.
As an affiliate, we earn on qualifying purchases.
Use Diffusers and Filters for Soft, Even Lighting
Using diffusers and filters can transform your lighting setup by creating soft, even illumination that highlights artwork without glare. To get the best results, you need to select the right diffusers and learn proper filter placement techniques. Maintaining consistent lighting ensures your artwork looks its best from every angle. Incorporating appropriate lighting can also help reduce harsh glare, which can damage artwork over time and detract from its visual appeal.
Choosing the Right Diffusers
When aiming for soft, even lighting on your artwork, choosing the right diffusers is essential. They help achieve ideal light diffusion and glare reduction, preventing harsh spots and reflections. Consider materials like frosted glass, fabric, or plastic designed specifically for light diffusion. These diffusers scatter light evenly, softening shadows and creating a gallery-like ambiance. To help you decide, here’s a quick comparison:
| Diffuser Type | Material | Best Use |
|---|---|---|
| Frosted Glass | Glass | High light diffusion, durability |
| Fabric | Light fabric | Flexible, easy to install |
| Plastic | Translucent plastic | Cost-effective, lightweight |
| Paper | Opaque paper | Temporary setups |
| Acrylic | Clear acrylic | Even light spread, sturdy |
Choosing the right diffuser enhances your lighting setup, ensuring your artwork is beautifully illuminated without glare. Incorporating proper lighting techniques can further optimize the ambiance and protect your artwork over time.
Proper Filter Placement Techniques
To achieve soft, even lighting on your artwork, placing filters and diffusers correctly is vital. Proper filter placement ensures the light is dispersed uniformly, preventing hot spots and harsh shadows. Position your diffusers directly in front of your light source or between the light and the artwork, depending on the setup. This helps to diffuse the light evenly and reduces glare, which can distract from the piece. When applying filters, make sure they’re securely attached and covers are smooth, avoiding creases that can cause uneven light distribution. Adjusting the angle and distance of filters also plays an essential role in glare reduction. Proper filter placement results in gentle, consistent illumination that highlights your artwork’s details without harsh reflections.
Maintaining Consistent Lighting
Maintaining consistent lighting is essential to showcase your artwork effectively, and this can be achieved by carefully using diffusers and filters. These tools help you control lighting color and reduce harsh shadows, ensuring even illumination. To keep your lighting uniform:
- Choose fixtures with adjustable styles to direct light precisely where needed.
- Use diffusers to soften the light, creating a gentle, glare-free glow.
- Apply filters that match your desired lighting color, maintaining consistency across all fixtures.
- Incorporate knowledge of lighting science to select the most effective diffusers and filters for your specific artwork and space.
Adjust Brightness With Dimmers and Select the Right Wattage
Adjusting brightness with dimmers and choosing the right wattage are essential steps to highlight artwork effectively. Dimmer switches give you control over light intensity, allowing you to fine-tune the illumination without creating harsh spots or glare. When selecting bulbs, pay attention to wattage selection; lower wattage bulbs produce softer, more controlled light, which is ideal for artwork. Avoid high-wattage bulbs that can cause glare or overly bright spots. Instead, opt for bulbs with adjustable brightness levels and match their wattage to the size and type of artwork you’re lighting. This combination helps create a balanced environment, emphasizing details without overwhelming the piece or distracting viewers. Proper wattage selection and dimmer use give you the flexibility to achieve gallery-quality lighting. Additionally, considering lighting angles can reduce glare and enhance visibility.
Prevent Glare and Reflections With Smart Placement Tips
Glare and reflections can substantially detract from the viewing experience, so smart placement of your lights is essential. To achieve effective glare reduction and reflection prevention, consider these tips:
- Position lights at a 30-45 degree angle from the artwork to minimize direct reflections.
- Use adjustable fixtures to control the direction and avoid glare hotspots.
- Avoid placing lights directly in front of or behind the artwork, which can cause unwanted glare and reflections.
- Opt for light sources with a controlled color temperature, as appropriate lighting can further reduce unwanted reflections and enhance the artwork’s appearance.
Set the Right Color Temperature for True-to-Color Art Display
Choosing the right color temperature for your lighting can make a significant difference in how accurately your artwork’s colors are represented. To achieve true-to-color display, aim for a color temperature around 3,000 to 4,000 Kelvin, which mimics natural daylight and enhances color accuracy. Consistent ambient lighting helps prevent color distortions caused by mismatched light sources. Warmer temperatures (below 3,000K) can give your artwork a yellowish hue, while cooler temperatures (above 4,000K) may make colors appear overly blue or stark. By selecting the appropriate color temperature, you create a balanced environment that preserves your art’s true tones. This careful choice guarantees your artwork looks authentic and vibrant under gallery-quality lighting conditions.
Maintain Your Lighting Setup to Preserve Your Art’s Beauty Over Time
To keep your artwork looking its best over time, you need to regularly maintain your lighting setup. Use the right bulbs to prevent fading, adjust angles to highlight details, and control light intensity to avoid damage. Staying attentive to these points guarantees your art stays vibrant and beautiful for years to come. Additionally, consider natural lighting options carefully to minimize the risk of glare and fading.
Use Proper Light Bulbs
Using the right light bulbs is essential for protecting your artwork’s colors and details over time. Choosing the correct lighting helps prevent fading and deterioration. Opt for LED bulbs, which emit minimal UV and heat, safeguarding your art’s integrity. Avoid traditional incandescent options, as they generate more heat and UV, risking damage. When selecting bulbs, consider these tips:
- Use dimmable LED bulbs with a color temperature around 3000K for warm, accurate illumination.
- Check for low UV emissions to reduce fading risks.
- Avoid incandescent options altogether, as they’re less energy-efficient and produce more heat.
Adjust Lighting Angles
Adjusting the angles of your lighting guarantees your artwork stays vibrant and undamaged over time. Position your lights to highlight the artwork’s focal points, ensuring each piece receives the right emphasis. Avoid placing lights directly overhead or at harsh angles that cause glare or shadows, which can distort the image. Instead, tilt fixtures slightly to create even lighting and preserve the artwork’s details. Achieving lighting symmetry across your display ensures a balanced, professional look that enhances visual harmony. Regularly check and fine-tune your lighting angles to prevent hot spots or uneven illumination. Properly calibrated angles not only protect your art from unnecessary exposure but also maximize its visual impact, keeping your gallery-like setup stunning and safe for years to come.
Control Light Intensity
Controlling light intensity is essential for preserving your artwork’s vibrancy and preventing damage over time. Too much light can cause fading, while too little diminishes details. To maintain ideal light levels, consider these strategies:
- Use adjustable accent lighting to fine-tune brightness without overwhelming the piece.
- Opt for lights with high color rendering index (CRI) to ensure accurate color presentation and true-to-life appearance.
- Dim or filter lights to prevent harsh glare and protect sensitive materials, preserving textures and details.
Frequently Asked Questions
How Can I Prevent Light Damage to Sensitive Artworks?
To prevent light damage to sensitive artworks, you should use UV filters on your lighting and incorporate light diffusion techniques. UV filters block harmful ultraviolet rays, while diffused light reduces harsh shadows and glare. Keep light levels low, ideally below 50 lux, and avoid direct light exposure. Regularly check and adjust your lighting setup to make sure your artwork stays protected, preserving its colors and integrity over time.
What Are the Best Energy-Efficient Lighting Options for Galleries?
You should choose LED lighting options with high color rendering to guarantee your artworks look vibrant and true to life. LED technology is energy-efficient, consuming less power and producing less heat, which helps prevent damage. Opt for adjustable LED fixtures that allow you to control brightness and angle, minimizing glare and highlighting details effectively. This combination ensures your gallery remains eco-friendly while safeguarding your valuable pieces.
How Often Should Gallery Lighting Be Maintained or Replaced?
Think of your gallery lighting as a garden that needs regular tending. You should perform light fixture maintenance every 6 to 12 months and follow a consistent lighting replacement schedule, typically every 2 to 3 years, to keep your artwork looking its best. Regular checks ensure bulbs aren’t dimming and fixtures aren’t losing efficiency. Staying proactive guarantees your gallery’s illumination stays vibrant, inviting, and free of harsh glare.
Can LED Lights Cause Any Color Distortion Over Time?
LED lights can cause some color shift over time, but their longevity typically signifies this is minimal if you choose high-quality options. As LEDs age, their color output may subtly change, impacting how your artwork appears. To prevent this, opt for LEDs with good color rendering and regularly check for signs of color distortion. Proper maintenance ensures your lighting remains vibrant and true to the artwork’s intended hues.
How Do I Balance Ambient and Accent Lighting Effectively?
Finding harmony in your lighting setup involves thoughtful fixture placement and effective lighting techniques. You should start by softly blending ambient light to create a warm, inviting atmosphere, then add accent lighting to highlight specific features without overpowering the scene. Adjust the fixtures so their beams complement each other, avoiding harsh shadows or glare. This balance guarantees your space feels natural, visually pleasing, and artistically curated, just like a gallery.
Conclusion
Now that you know how to light your artwork like a pro, you’re practically a gallery wizard! With perfect placement, soft lighting, and just the right brightness, you’ll banish glare and reflections forever—your walls will glow with art so vivid it might just jump off! Keep your setup maintained, and your masterpieces will dazzle visitors daily, turning your space into an art lover’s paradise. Get ready for endless praise and jaw-dropping admiration!