To test fabric colorfastness at home safely, gather simple materials like a white cloth, mild detergent, and gloves. Cut a small fabric sample, clean it, and test with water or a mild solution. Look for color transfer or fading after applying the solution and drying. Keep conditions consistent to compare results easily. If you’re interested in detailed steps and helpful tips, continuing will help you confidently assess your textiles’ durability.
Key Takeaways
- Use a small, representative fabric sample and observe for color transfer or fading after testing.
- Always wear gloves and work in a well-ventilated area to ensure safety during testing.
- Apply water or testing solutions evenly and compare fabric before and after under consistent lighting.
- Maintain controlled conditions like temperature and humidity for reliable, repeatable results.
- Seek professional testing if home results are inconclusive or if fabric shows signs of significant fading or bleeding.
Understanding Colorfastness and Its Importance

Understanding colorfastness is essential because it determines how well a fabric or dye resists fading, bleeding, or running when exposed to washing, sunlight, or other environmental factors. This resistance depends largely on dye absorption, which affects how securely the dye bonds with the fabric. Proper dye absorption ensures vibrant colors and minimizes fading over time, enhancing fabric durability. When dyes are absorbed effectively, the fabric maintains its appearance longer, even with frequent washing or outdoor exposure. Recognizing the importance of colorfastness helps you select fabrics that withstand daily wear and tear. It also guides you in testing and caring for textiles properly, ensuring your clothes and household items stay colorful and intact for years to come. Developing an awareness of creative practice can also improve your ability to assess fabric quality and dye stability.
Gathering Simple Materials for Testing
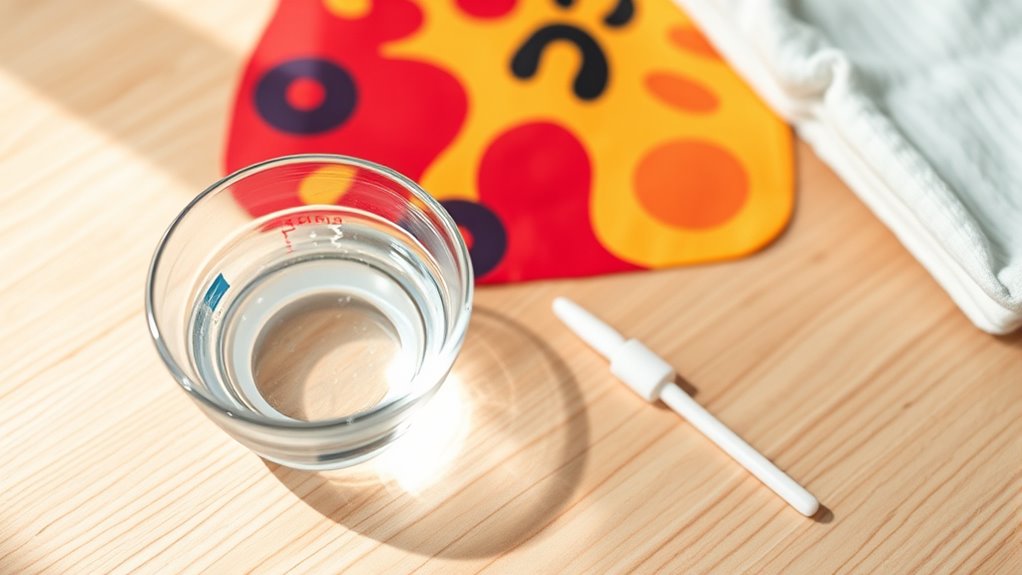
To begin testing for colorfastness at home, you’ll need to gather a few simple materials that are easy to find around your house or in your supplies. You’ll want a clean white cloth or cotton swab, which will help you observe any color transfer. Additionally, grab some mild detergent or soap to clean your fabric sample. A small bowl or container is essential for holding water or testing solutions. For safety and accuracy, have a pair of gloves on hand to prevent staining or skin irritation. If you’re curious about colorfastness in fabric dyeing or textile manufacturing, this basic setup allows you to safely perform a quick test. These materials are inexpensive, simple to use, and perfect for evaluating how well your fabric’s color holds up over time. Understanding color stability can help you determine the durability of your fabrics and dyes in everyday use.
Preparing Your Fabric Sample

Start by selecting a fabric piece that best represents your larger item. Then, cut a small test swatch and label it clearly to keep track of your samples. Store your swatches safely to guarantee they stay in good condition for accurate testing later. To ensure consistent results, consider the color accuracy of your fabric, which can influence the test’s reliability.
Select a Fabric Piece
Choosing the right fabric piece is essential for accurate colorfastness testing. You want a small, representative sample that shows typical dye behavior. Focus on fabric texture, selecting a piece similar to your item’s surface, whether smooth or textured. Consider dye selection too; natural fibers like cotton or linen often react differently than synthetic ones. Use a fabric sample that’s clean, dry, and free of finishes or treatments. Here’s a quick guide:
| Fabric Type | Texture | Best For |
|---|---|---|
| Cotton | Smooth | Natural dye testing |
| Linen | Textured | Cotton-like fabric testing |
| Polyester | Smooth or Textured | Synthetic fiber testing |
| Wool | Soft, Textured | Animal fiber dye tests |
| Nylon | Smooth | Synthetic dye compatibility |
Pick a piece matching your fabric for reliable results. Additionally, understanding fiber-reactivity can help you select the most appropriate fabric type for testing.
Cut a Test Swatch
Before testing, you need to cut a test swatch from your fabric piece. Choose a small, discreet section that accurately represents the fabric’s color. Use sharp scissors to guarantee a clean edge, which helps prevent dye migration during testing. The swatch should be about 2 inches square. Cutting neatly reduces the risk of damaging the fabric, which could cause bleeding. To prevent dye bleeding during testing, avoid fraying or loose threads. Handling the swatch carefully ensures your results are reliable. Remember, a well-prepared test sample is essential for accurate colorfastness results. By selecting the right size and cutting carefully, you help minimize dye migration and ensure your test provides clear insights into how the fabric will hold up over time. Vetted products and techniques can further ensure your testing process is safe and effective.
Label and Store Safely
After cutting your fabric swatch, the next step is to label it clearly with details like the fabric type, color, and date of testing. Accurate labeling helps you track results and prevents mix-ups during textile preservation. Use a waterproof pen to mark the label directly on the fabric or attach a small, durable tag. Store your sample in a clean, dry container away from sunlight to prevent any deterioration. Proper storage guarantees the fabric dyeing remains stable, allowing for consistent testing results over time. Keep your labeled swatch in a safe, organized space to avoid accidental damage or contamination. This careful preparation helps maintain the integrity of your textile preservation process and ensures reliable, safe colorfastness testing at home. Additionally, safeguarding your fabric sample from environmental factors like humidity and temperature fluctuations can extend the longevity of your testing materials.
Conducting the Colorfastness Test Safely

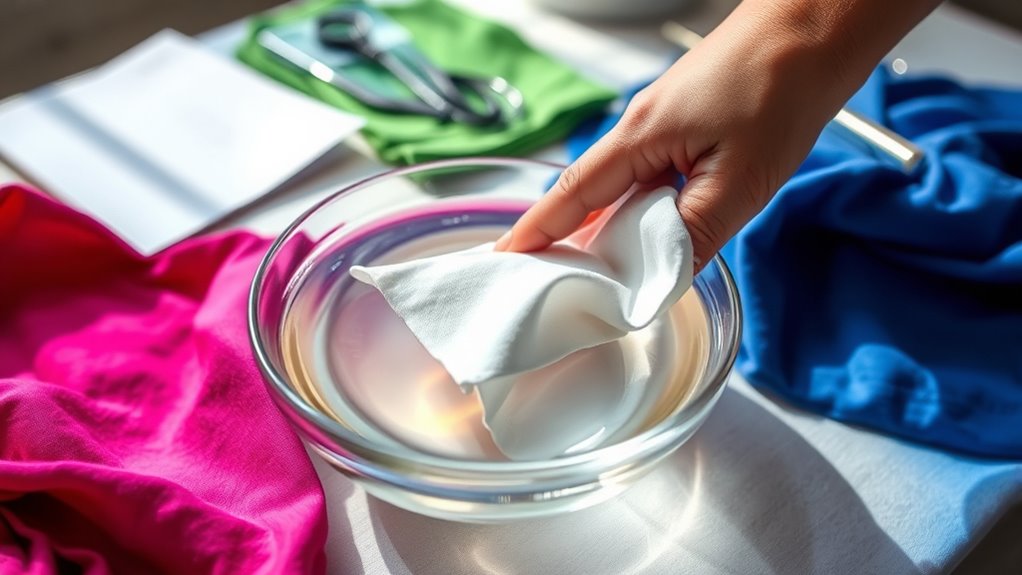
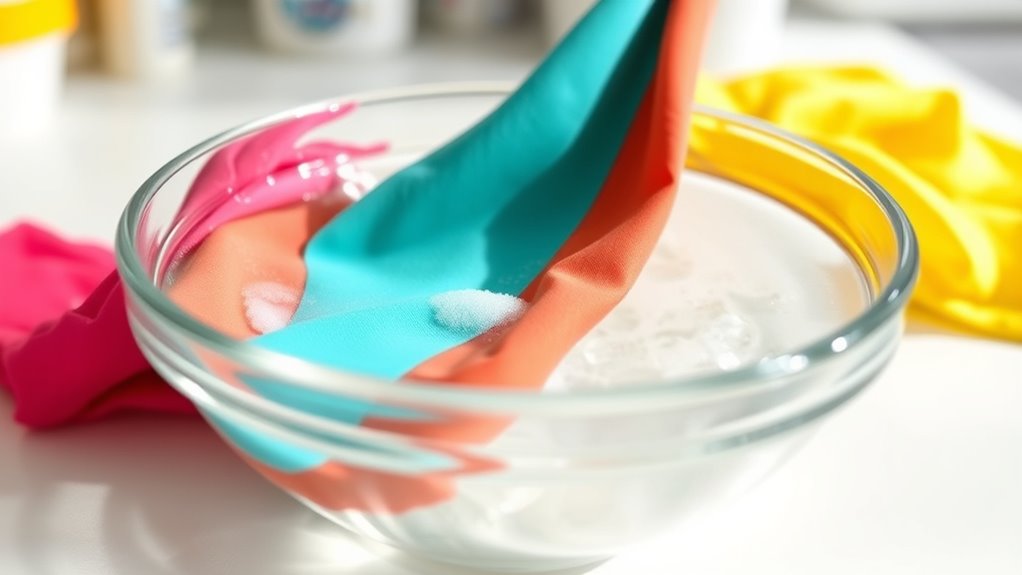
To guarantee your safety while testing for colorfastness at home, it’s essential to follow proper procedures and handle materials carefully. Always wear gloves and work in a well-ventilated area. When applying dye, ensure even dye saturation to prevent uneven results. Be mindful of fabric texture, as rough or delicate fabrics may react differently. Use the table below to visualize the process:
| Step | Description |
|---|---|
| 1 | Prepare test area and gather supplies |
| 2 | Apply dye evenly, considering fabric texture |
| 3 | Use protective gear to handle chemicals |
| 4 | Conduct test in a safe, ventilated space |
Handling dye and fabrics with care minimizes risks, ensuring safe, accurate results. Incorporating positive thinking techniques can help maintain a calm and focused approach during the testing process.
Interpreting the Results Accurately
When interpreting your test results, look closely at the color change indicators to see if the fabric has faded or bled. Make sure you compare the before and after images under the same lighting conditions for accuracy. Consistent testing conditions help guarantee your results are reliable and easy to understand. Additionally, understanding appliances connection options can help you replace or upgrade your textiles if needed.
Color Change Indicators
Color change indicators are essential tools for interpreting the results of your at-home colorfastness test accurately. They help you identify whether dye migration has occurred, which can cause unwanted stains on surrounding fabrics. When you see a change in the indicator’s color, it signals that dyes have migrated from the fabric, increasing the risk of color bleeding. This helps you assess stain prevention, so you can decide if washing or treating the fabric safely is possible. Using these indicators ensures you’re making informed decisions about cleaning or wearing your textiles. Remember, clear, consistent color changes are your best clues for understanding how well your fabric retains its dye, allowing you to avoid damage and maintain your items’ appearance over time. Incorporating for-sale 100 products can also assist in monitoring fabric safety effectively.
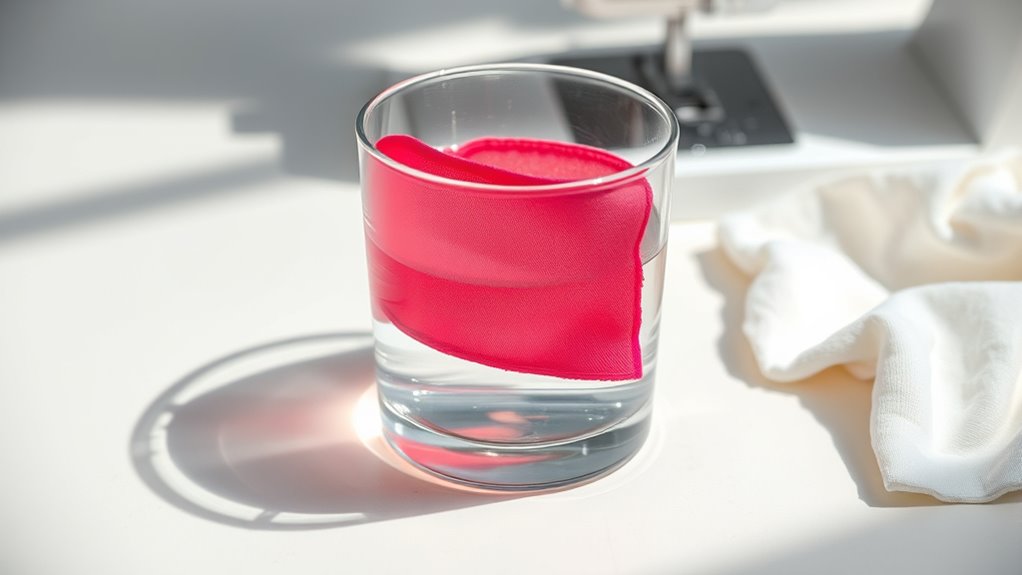
Comparing Before & After
Comparing the fabric’s appearance before and after testing is essential for accurate interpretation. Focus on any color changes, fading, or bleeding, which are key indicators of colorfastness. If the fabric’s dyeing appears unchanged, it suggests good color retention for those textile fibers. Slight fading may be normal, but significant color loss indicates poor dyeing stability. Take note of any areas where dye may have transferred to other fabrics or surfaces. Use a consistent light source when inspecting, and compare the fabric side-by-side in natural daylight if possible. Remember, different textile fibers react differently to dyes, so understanding these subtle differences helps you accurately assess the fabric’s colorfastness after testing. Incorporating proper testing techniques can further enhance your accuracy. Clear comparison ensures you make informed decisions about your fabrics’ durability.
Consistent Testing Conditions
To interpret your test results accurately, maintaining consistent testing conditions is essential. Variations in dye penetration can affect your assessment of colorfastness, so guarantee your testing environment stays the same each time. Use the same temperature, humidity level, and duration for every test, as these factors influence dye behavior and fabric response. Understanding your fabric composition also helps; natural fibers like cotton absorb dye differently than synthetic ones like polyester. Consistent conditions prevent discrepancies caused by external factors, allowing you to compare results reliably over multiple tests. By controlling these variables, you can accurately evaluate if your fabric’s color fastness remains stable or if it’s prone to fading or bleeding under specific conditions. This approach ensures your home testing yields trustworthy, actionable insights.
Tips for Maintaining Bright and Colorful Textiles
Keeping your textiles bright and colorful requires more than just washing them regularly; it also involves mindful care practices. To prevent dye migration and enhance fabric durability, always wash vibrant items inside out in cold water. Use mild detergents and avoid harsh chemicals that can strip colors. When drying, opt for air drying or low-heat settings to reduce stress on fibers. Proper storage in a cool, dark place helps preserve colors over time. Below is a table highlighting key tips:
| Tip | Why It Matters | Best Practice |
|---|---|---|
| Wash inside out | Prevents dye fading | Turn clothes before washing |
| Cold water washes | Minimizes dye migration | Use cold or lukewarm water |
| Gentle detergents | Protects fabric durability | Choose mild, color-safe detergents |
| Air drying | Maintains fabric integrity | Hang in shade |
| Proper storage | Preserves color vibrancy | Store in a cool, dark place |
When to Seek Professional Testing Assistance
While routine at-home testing can help assess colorfastness, there are situations when professional testing becomes essential. If your fabric shows signs of fading after multiple washes or exposure to sunlight, a professional evaluation can provide accurate results. Similarly, if you’re unsure about the safety of dyes or suspect color bleeding, laboratory testing offers definitive insights. When dealing with valuable or delicate textiles, seeking expert assistance guarantees proper care and prevents damage. Professional evaluation often involves precise laboratory testing methods that are more reliable than home tests. Remember, if your at-home tests yield inconsistent or inconclusive results, it’s best to consult a specialist. Their expertise guarantees accurate assessment, helping you preserve your textiles and maintain their vibrant appearance.
Frequently Asked Questions
Can Homemade Tests Replace Professional Laboratory Assessments?
You might wonder if DIY methods can replace professional accuracy in testing colorfastness. While homemade tests are convenient and cost-effective, they often lack the precision and reliability of professional laboratory assessments. DIY methods can give you a general idea, but for critical or high-stakes items, relying on experts guarantees accurate results. Ultimately, professional assessments provide the confidence that your fabrics meet safety and quality standards.
How Long Should Each Test Phase Last for Reliable Results?
For reliable results, you should allocate enough test duration for each phase, typically 24 to 48 hours. This allows the color to fully react to the testing conditions, ensuring accurate result accuracy. Keep in mind that shorter tests might not reveal fading or bleeding clearly, so patience is key. By following this timeframe, you’ll get a more dependable assessment of your fabric’s colorfastness at home.
Are There Specific Fabric Types That Are More Challenging to Test at Home?
Ever wondered if some fabrics are trickier to test at home? You might find synthetic fabrics more challenging because they can resist fading, hiding potential issues. Delicate textiles, on the other hand, demand gentler handling to prevent damage. These differences mean you need to approach each material carefully, adjusting your testing methods. Stay alert—knowing which fabrics pose unique challenges keeps you one step ahead in ensuring colorfastness safely.
What Safety Precautions Should Be Taken When Handling Chemicals?
When handling chemicals, you should prioritize chemical safety by wearing protective gear like gloves and goggles to prevent skin and eye contact. Make sure you’re in a well-ventilated area to avoid inhaling fumes. Keep chemicals away from children and pets, and read all instructions carefully. Properly store chemicals in labeled containers, and always wash your hands thoroughly after testing. These precautions help guarantee your safety during home testing.
How Often Should I Perform Colorfastness Tests on Frequently Washed Items?
You might think testing isn’t necessary often, but for frequently washed items, following a consistent frequency schedule is essential. You should perform colorfastness tests every 4-6 weeks or after a set number of washes, depending on how often you wash. Regular testing intervals help catch fading early, protecting your clothes and saving money. Staying proactive ensures your items stay vibrant and safe over time.
Conclusion
Now that you know how to test your fabrics safely at home, you hold the key to keeping your textiles vibrant and beautiful. Think of your fabric as a delicate garden—regular colorfastness tests are your watering can, ensuring your colors stay bright and lively. With these simple steps, you can confidently nurture your favorite clothes and linens, preventing fading before it happens. Keep up this routine, and your textiles will thank you with lasting color and charm.