TL;DR
A homeowner in Ohio has completely transformed her ’80s kitchen, especially the outdated oak cabinets, into a charming farmhouse-style space. The renovation was staged over several years on a limited budget, totaling approximately $10,000. The result is a cozy, lived-in look that blends rustic charm with modern updates.
A 1980s kitchen in Ohio has been transformed into a charming farmhouse-style space, with original oak cabinets now unrecognizable after a series of staged renovations and DIY updates, all achieved on a limited budget. The homeowners, Danielle Herrett and her husband, aimed to open up the space and add rustic charm, making the kitchen a focal point of their home. The project, which spanned several years, cost approximately $10,000, according to Herrett.
The original kitchen featured small, orange-stained oak cabinets and overhead soffits that made the space feel cramped. The couple’s first step was to remove the soffits and install rustic tongue-and-groove paneling to give the illusion of taller cabinets. They then removed a wall between the laundry and mudroom to expand the kitchen area.
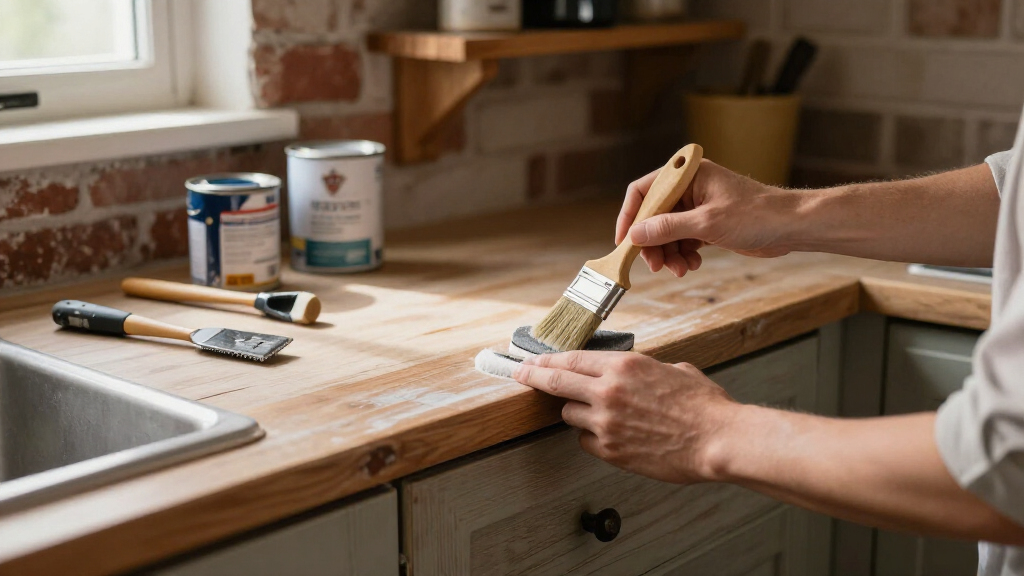
They painted the cabinets in Sherwin-Williams’ “Alabaster” and added a new farmhouse-style sink and window. The countertops were replaced with quartz, and the existing tiles were painted white to match the palette. Their furniture choices, including a barn door coffee bar and a primitive cabinet, added personality. Faux Fypon beams, stained with a mix of Minwax Walnut and Golden Oak, completed the ceiling aesthetic.
Herrett estimates that the entire renovation cost around $10,000, achieved through staged updates and DIY craftsmanship. The result is a cozy, vintage-inspired kitchen that feels much older and more charming than its original design.
A Vintage Farmhouse Makeover Made These ’80s Cabinets Unrecognizable
Without replacing the original oak cabinets, Danielle Herrett and her husband turned a cramped 1980s kitchen into a warm, lived-in farmhouse space—one practical DIY stage at a time.
The design moves
Six changes rewrote the room’s identity
The transformation came from visual continuity, warmer architectural details and strategic upgrades—not a complete demolition.
Soffits removed
Removing the overhead boxes opened the sightline and stopped the compact cabinets from feeling compressed.
Paneling added
Rustic tongue-and-groove above the cabinets creates the illusion of taller, built-in cabinetry.
Oak painted
Sherwin-Williams “Alabaster” replaced the orange stain with a soft, unified farmhouse finish.
Wall opened
A wall between the laundry and mudroom was removed to expand the usable kitchen area.
Sink + quartz
A farmhouse-style sink, new window and quartz counters brought modern performance to the vintage look.
Rustic layers
A barn-door coffee bar, primitive cabinet and faux timber beams gave the room personality and age.
Transformation flow
From cookie-cutter to collected
Each intervention supported the next, allowing the homeowners to spread cost and labor across several years.
Open the shell
Remove soffits and the dividing wall.
Extend the lines
Add tongue-and-groove above the uppers.
Unify the color
Paint cabinets and existing tile white.
Upgrade touchpoints
Install quartz, sink and new window.
Layer in age
Add beams and vintage-style furniture.
A renovation in chapters
The budget worked because the timeline flexed
Instead of waiting for one large remodeling fund, the couple tackled high-impact projects as time and money allowed.
Change the architecture
Open the room, remove the soffits and establish a more generous visual footprint.
Reuse the expensive pieces
Keep the oak cabinet boxes, then transform them with paint and added paneling.
Invest where daily life happens
Direct funds toward the sink, quartz counters, window and improved room function.
Finish with atmosphere
Use furnishings, stained beams and rustic details to make the remodel feel collected.
Material file
The farmhouse formula, decoded
A restrained white palette keeps the room bright, while stained wood and primitive furniture restore depth and warmth.
Finish specification
What happens next
The remaining test is time
The makeover proves the immediate power of paint, reuse and staged renovation. Long-term wear will reveal which DIY choices age as gracefully as the aesthetic.
Painted cabinets
Daily handling, moisture and cleaning will test the coating’s preparation and durability.
Painted tile
Heat, splashes and repeated wiping will determine how well the refreshed surface holds up.
Faux beams
The stained polyurethane beams must retain their finish and convincing timber appearance.
The idea chain behind the makeover
How the Renovation Reimagines Outdated ’80s Kitchens
This transformation demonstrates that even a limited budget and staged updates can significantly change a home’s character. It offers inspiration for homeowners seeking to modernize and personalize cookie-cutter spaces while preserving a rustic, lived-in charm. The project also highlights the value of DIY solutions and creative reuse, making it relevant for those wanting to achieve a vintage farmhouse look without extensive remodeling costs.
farmhouse kitchen cabinet paint kit
As an affiliate, we earn on qualifying purchases.
As an affiliate, we earn on qualifying purchases.
Background on the Ohio Kitchen Makeover
Originally built in the 1980s, the kitchen was typical of suburban homes of that era, with small, orange-stained oak cabinets and architectural soffits. The homeowners, who moved into the house nearly 11 years ago, prioritized opening up the space but lacked a large renovation budget. Over several years, they gradually updated the kitchen in stages, focusing on creating a rustic, cozy aesthetic inspired by farmhouses and older homes.
“The renovation was achieved through staged updates and DIY craftsmanship, transforming the space into a vintage-inspired farmhouse kitchen.”
— Apartment Therapy
Remaining Questions About the Kitchen’s Long-Term Durability
It is not yet clear how well the DIY updates, such as paint and faux beams, will hold up over time. The long-term durability of the painted tiles, the faux beams, and the painted cabinets remains to be seen, especially with daily kitchen use. Additionally, the total cost and time investment for future updates are still being assessed.
Future Plans for the Kitchen and Home
The homeowners plan to continue personalizing the space, potentially adding more vintage or repurposed furniture. They may also undertake further updates, such as new flooring or additional storage solutions, to enhance functionality while maintaining the farmhouse charm. Monitoring how the current updates age will inform future renovation decisions.
Key Questions
How much did the kitchen renovation cost?
Approximately $10,000, achieved through staged updates and DIY projects over several years.
Did they replace the original cabinets?
No, they painted the existing oak cabinets in Sherwin-Williams’ “Alabaster” and modified their appearance with removal of soffits and added paneling to create the illusion of taller cabinets.
What materials did they use for the beams?
The beams are Fypon faux polyurethane beams, stained with a mix of Minwax Walnut and Golden Oak, and attached to ceiling blocks for a rustic look.
Will the DIY updates last long-term?
The durability of painted tiles, faux beams, and painted cabinets is still uncertain; time will tell how well these updates hold up with regular use.
Are they planning more renovations?
The homeowners intend to personalize the space further and may add more vintage or repurposed furniture, but no major structural changes are currently planned.
Source: Apartment Therapy