
To safely spot-test antique dyes, choose hidden or less visible areas like seams or folds to prevent visual damage. Wear gloves and work in a well-ventilated space, applying diluted reagents with fine tools to avoid harm. Observe color changes or migration carefully—these reveal dye stability. Document each step thoroughly for future reference. Mastering proper testing guarantees you safeguard delicate textiles; if you keep exploring, you’ll discover more tips for effective conservation.
Key Takeaways
- Select hidden or inconspicuous textile areas to minimize visual impact during testing.
- Use dilute, small amounts of reagents with fine applicators on minimal, well-chosen spots.
- Wear safety gear, work in ventilated spaces, and test reagents on inconspicuous areas first.
- Interpret results carefully: no migration indicates dye stability; migration suggests instability.
- Document procedures, results, and environmental conditions thoroughly for accurate conservation assessment.
Understanding the Importance of Dye Stability in Conservation
Understanding dye stability is essential in conservation because it directly affects the long-term preservation of antique textiles and artworks. When dyes are unstable, chemical reactions can occur over time, leading to dye fading and loss of color vibrancy. These reactions may be triggered by environmental factors like light, humidity, or pollutants, accelerating deterioration. Recognizing the importance of dye stability helps you assess how well a dye will endure through age and exposure. If dyes are prone to fading, conservation efforts must focus on minimizing damaging conditions or choosing appropriate testing methods. Additionally, advancements in testing techniques enable more accurate assessments of dye stability, aiding in the development of effective preservation strategies. By understanding this, you can better predict how an artifact will age and implement strategies to preserve its original appearance for future generations.
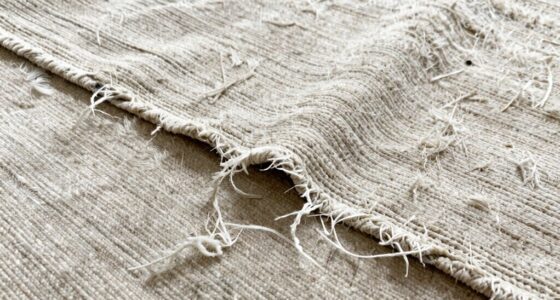
Selecting Appropriate Testing Areas on Textiles

Choosing the right areas to test on a textile is crucial to guarantee accurate assessment of dye stability without damaging the piece. You should select spots where fiber reactions are minimal and dye migration is unlikely. Focus on hidden or less visible sections, such as the underside or seams, to prevent affecting the display. Avoid areas with heavy wear, stains, or previous repairs, as these can skew results. Here’s a quick guide:
| Area Type | Characteristics | Why Test Here? |
|---|---|---|
| Hidden seams | Less exposed to light or wear | Minimal fiber reactions |
| Underneath layers | Protected from environmental changes | Reduced dye migration risk |
| Edges and corners | Less handled, less stressed | Preserves visual integrity |
| Interior folds | Less exposed to external factors | More stable testing spot |
| Damaged spots | Already compromised, less impact | Safer testing environment |
Selecting areas with these criteria helps ensure safe, accurate testing. Additionally, understanding dye stability is essential for selecting appropriate testing areas and ensuring the longevity of textile dyes.
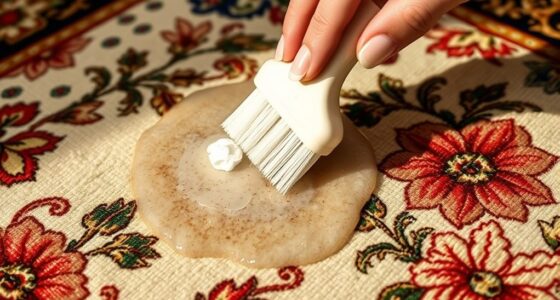
Preparing and Applying Spot Tests Safely

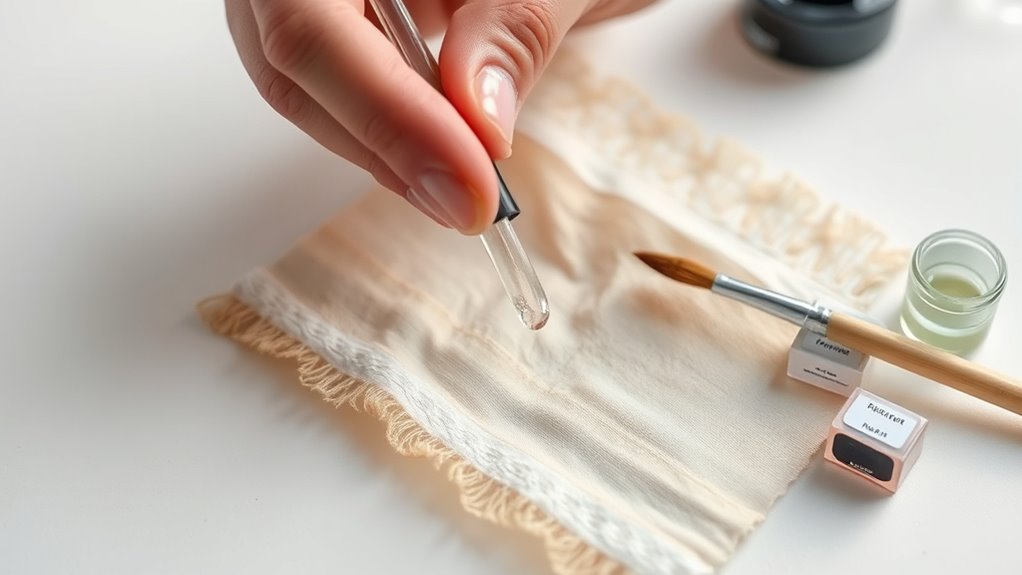
To guarantee accurate results and prevent damage, you must carefully prepare and apply spot tests on textiles. First, gather your chemical reagents, safety gear, and testing tools. Follow safety protocols by wearing gloves, goggles, and working in a well-ventilated area. Before applying, dilute reagents as recommended and test on a small, inconspicuous area of the textile. Use a fine applicator, like a pipette or brush, to ensure precise application. Keep a detailed record of each test, including reagent type and application method. Remember, careful preparation minimizes risks and guarantees reliable results. Additionally, nail styles names can inspire your choice of design for the textile or accessory you are testing. Visualize applying tiny drops of chemical reagents with a fine brush or pipette. Imagine the faint color changes on a hidden textile corner. Picture yourself double-checking your safety gear before proceeding.
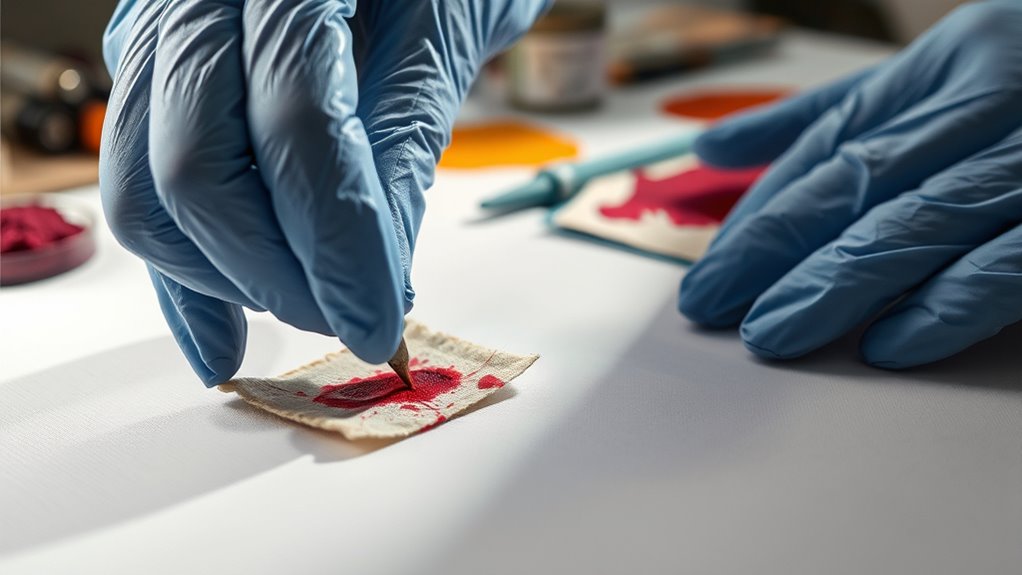
Interpreting Test Results to Guide Conservation Decisions
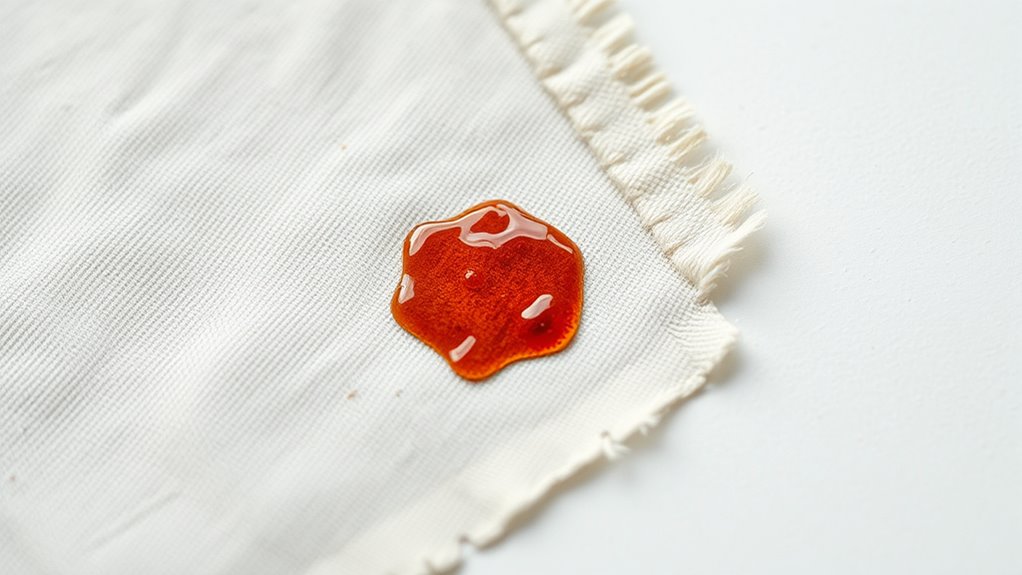
Interpreting your spot test results accurately is essential for making informed conservation decisions. If you notice dye migration, it indicates the dye isn’t colorfast and may run or fade with handling or environmental changes. This suggests you should avoid treatments that could disturb the dye or worsen its stability. Conversely, stable dyes show no migration or color change, confirming they’re less likely to be affected by cleaning or environmental shifts. Pay close attention to subtle shifts in hue or intensity, as these reveal underlying dye behavior. Recognizing these patterns helps you determine whether a conservator’s approach should involve gentle cleaning, stabilization, or more cautious handling. Proper interpretation ensures your decisions protect the artifact’s integrity while respecting its original materials. Understanding dye stability is key to selecting the appropriate conservation method.
Best Practices for Documenting and Recording Spot Tests
Accurate documentation of your spot test results is key to maintaining a reliable record of your conservation work. When recording your results, focus on clear, detailed notes that reflect the colorfastness evaluation and adherence to ethical testing protocols. Use precise language to describe dye reactions, including any fading, bleeding, or stability observed. Visual documentation, like photographs, helps guarantee consistency and provides a visual reference for future comparisons. Keep your records organized with dates, test conditions, and sample descriptions. To create a vivid record, consider:
- Photographing each test area from multiple angles
- Noting environmental factors during testing
- Using standardized forms for consistent documentation
- Being aware of the emotional support needs of those involved in the process
This approach ensures your records are thorough, reproducible, and ethically sound, supporting informed conservation decisions.
Frequently Asked Questions
How Often Should Spot Tests Be Repeated for Reliable Results?
You should repeat testing frequently enough to guarantee reliable results, especially if conditions change or you’re unsure about dye stability. Typically, testing frequency depends on factors like storage environment and the age of the item. Conduct spot tests periodically—every few months or after any handling—to monitor for color changes. Consistent testing helps you catch issues early, maintaining the integrity of your antique textiles and ensuring your results stay reliable over time.
Can Spot Tests Damage the Antique Textiles or Dyes?
You might wonder if spot tests can damage your antique textiles or dyes. When done carefully, spot testing reduces the risk of adverse dye reactions or compromising textile integrity. However, improper technique or excessive testing could cause damage. Always conduct tests on inconspicuous areas, use gentle methods, and limit testing frequency to protect your textiles. This approach ensures you monitor dye stability safely without risking harm to your precious antiques.
What Are the Signs of a Failed or Inconclusive Spot Test?
Think of a spot test as a health check for your antique textile—if it’s failed or inconclusive, it’s like a doctor’s uncertain diagnosis. Signs include unexpected chemical reactions, such as color changes beyond the test area, or dye fading shortly after. These clues suggest the dye might be unstable or reacting unpredictably, meaning you should proceed with caution, as further testing could damage the textile or alter its historic integrity.
Are There Specific Environmental Conditions That Affect Dye Stability?
Environmental factors like light, temperature, humidity, and exposure to pollutants markedly affect dye stability. You should control these conditions to prevent dye degradation, which can cause fading, discoloration, or chemical changes. Keep antiques in a stable, cool, and dark environment to minimize these risks. By managing these factors, you help preserve the original appearance and integrity of the dyes, ensuring their longevity and historical value.
How Do Different Dye Types Influence Testing Methods?
You should consider how dye classification impacts your testing protocols because different dye types react uniquely to environmental factors. For instance, natural dyes may require gentler testing methods compared to synthetic dyes, which might need more rigorous procedures. Understanding these distinctions helps you choose appropriate testing protocols, ensuring accurate assessments of dye stability. This tailored approach safeguards the integrity of your antique textiles and provides reliable results for preservation efforts.
Conclusion
You might wonder if testing dyes could cause more harm than good, but the truth is, proper spot testing can actually save your textiles from irreversible damage. By carefully choosing test areas and interpreting results accurately, you guarantee your conservation efforts are both safe and effective. Trust in these methods not only preserves the beauty of antique textiles but also keeps their stories alive for generations to come. Sometimes, cautious testing truly is the key to safeguarding history.