To create a DIY blocking board for rug repair, gather sturdy fabrics like cotton or linen, a measuring tape, scissors, and a sturdy base such as plywood. Measure and cut the base to fit your space, then add a non-slip surface with mats or adhesive strips. Secure your rug with adjustable straps or clips, and use clamps for stability during drying. Keep your setup organized for best results—continue to explore the steps for a successful project.
Key Takeaways
- Select sturdy, non-stretch fabrics like linen or cotton for the base to ensure durability during blocking.
- Measure and cut a stable, appropriately-sized board or surface to support the rug properly.
- Use non-slip mats or adhesive strips to secure the rug and prevent shifting during the blocking process.
- Clamp and tension the rug evenly, ensuring a flat, stable surface for drying and setting the shape.
- Organize your workspace with clean pins and tools, and maintain the board to ensure consistent, effective rug repairs.
Gathering Materials and Tools
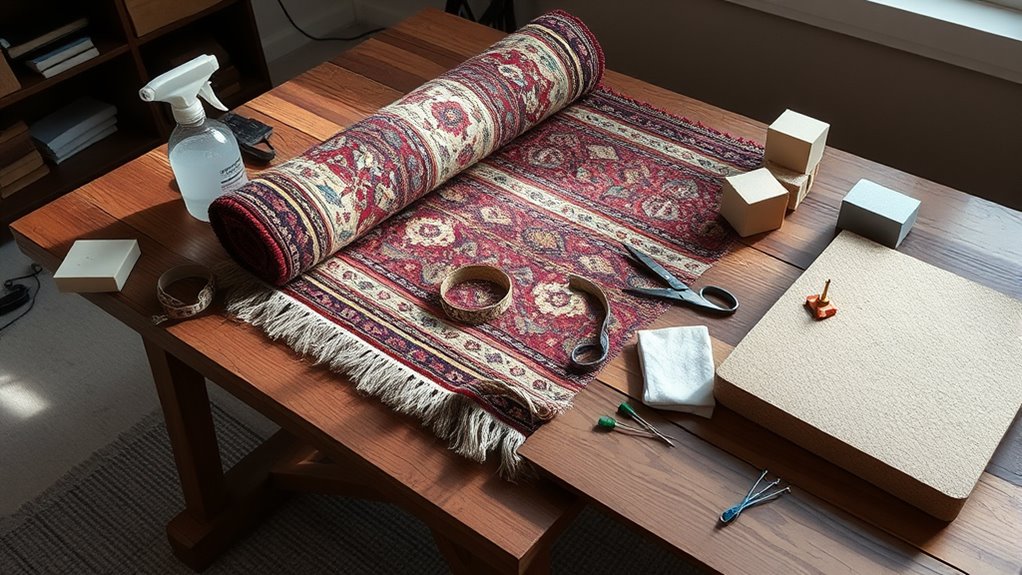
Before you begin building your DIY blocking board, it’s vital to gather all the necessary materials and tools. First, focus on fabric selection; choose a sturdy, non-stretch fabric like linen or cotton to cover your board, guaranteeing durability during blocking. Next, collect tools such as a ruler, measuring tape, scissors, and a staple gun or fabric glue for assembly. Safety precautions are essential—wear gloves when handling sharp tools, and work in a well-ventilated area, especially if using adhesives or staples. Make sure your workspace is clean and organized to avoid accidents. Double-check that you have all items before starting to streamline the process and prevent interruptions. Proper preparation ensures your DIY blocking board will be safe, effective, and long-lasting. Additionally, understanding the importance of self-awareness can help you create a more mindful workspace that promotes focus and efficiency throughout your project. Being aware of your material choices can influence the durability and functionality of your finished blocking board. Incorporating workspace organization can further enhance your efficiency and safety during assembly. Recognizing the significance of local resources can also help you find additional supplies or support if needed.
Measuring and Planning Your Board
To guarantee your DIY blocking board meets your needs, start by carefully measuring the space where you’ll place it and deciding on the appropriate size. Accurate measurement ensures your board fits comfortably and functions effectively. Consider the size of your rugs and the room dimensions to determine the right dimensions. Think about material selection—sturdy, lightweight options make planning easier. Use this table to visualize your planning process:
| Aspect | Consideration |
|---|---|
| Space available | Measure length, width, height of the spot |
| Rug size | Match board dimensions to rug size |
| Material choice | Choose durable, lightweight materials |
| Future projects | Allow extra space for larger rugs or repairs |
Getting measurement accuracy and planning properly helps you create a functional and satisfying DIY blocking board. Additionally, incorporating ideas from relationships – personality tests can help ensure your planning process considers how personal preferences and needs influence the final setup. Considering project planning strategies can further enhance your overall satisfaction with the finished product. Remember that a well-prepared plan can also enhance your satisfaction with the finished project.
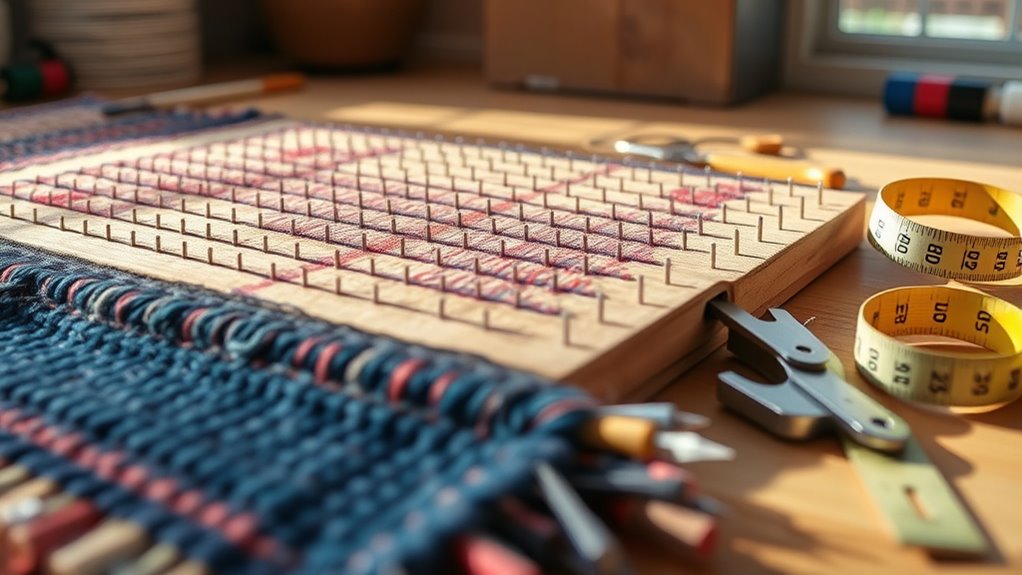
Cutting the Base Platform
Once you’ve planned your board’s size and selected your materials, it’s time to cut the base platform. Start by marking your measurements clearly with a pencil or chalk. When cutting, prioritize safety precautions—wear safety goggles and gloves to protect your eyes and hands. Use a sharp utility knife, a saw, or an appropriate power tool for clean cuts. If you don’t have wood, consider alternative materials like foam board or thick cardboard, which can be easier and safer to cut. Always secure your material firmly to prevent slipping, and cut slowly along your marked lines. Double-check your measurements before making the final cut. Taking your time and following safety precautions ensures a smooth process and a sturdy base for your DIY blocking board.
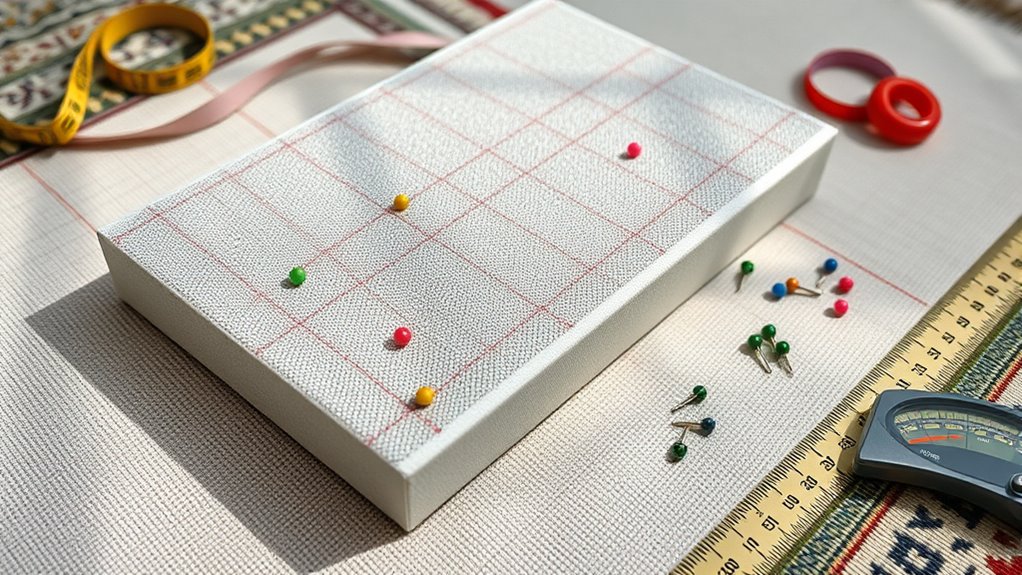
Adding a Non-Slip Surface
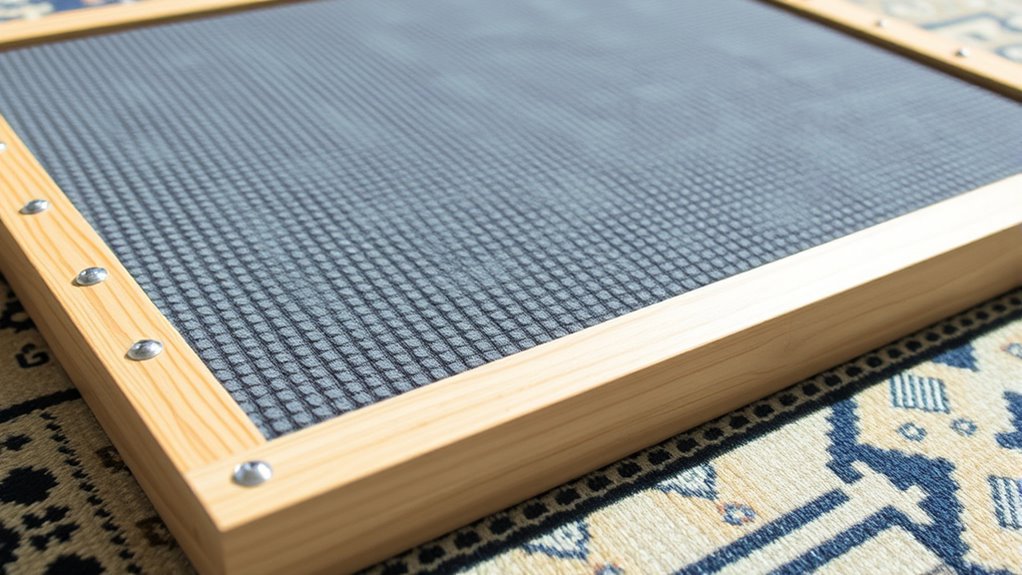
Adding a non-slip surface is essential to keep your project steady during blocking. It prevents your rug from shifting, ensuring accurate shaping. You can use non slip mats or adhesive strips for this purpose. Here are some tips:
- Place a non slip mat directly under your rug to provide grip and stability. Using high-quality materials can significantly enhance non-slip effectiveness. Ensuring the surface grip is reliable is crucial for maintaining your rug’s shape.
- Use adhesive strips along the edges of your blocking board to secure your rug in place.
- Combine both methods for maximum security, especially for larger or heavier projects.
- Be mindful that effectiveness of eye patches can depend on the quality of your non-slip materials and proper application. Additionally, choosing mats with anti-slip properties ensures better adherence and reduces the risk of slipping during work.
Ensure the non slip mats are clean and free of dust before placing them. Adhesive strips should be pressed firmly to avoid any movement. This simple addition makes a significant difference in achieving professional results.
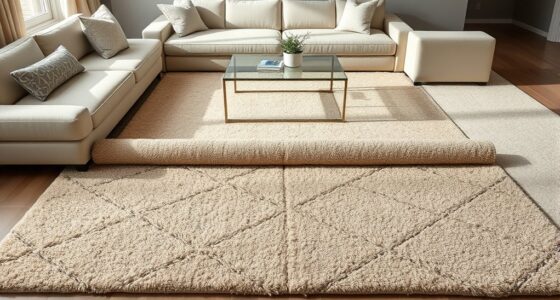
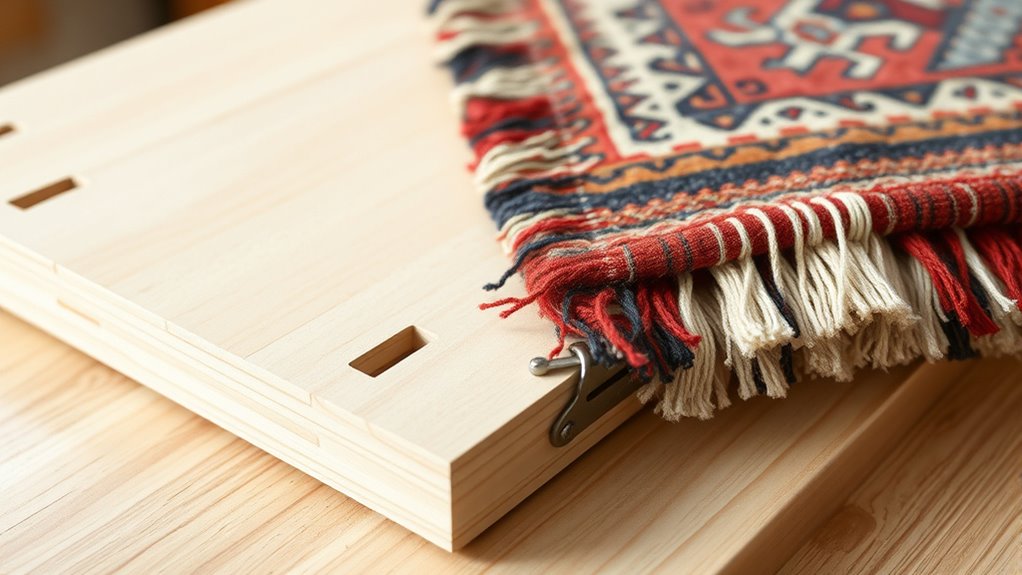
Creating Adjustable Restraints for Rugs
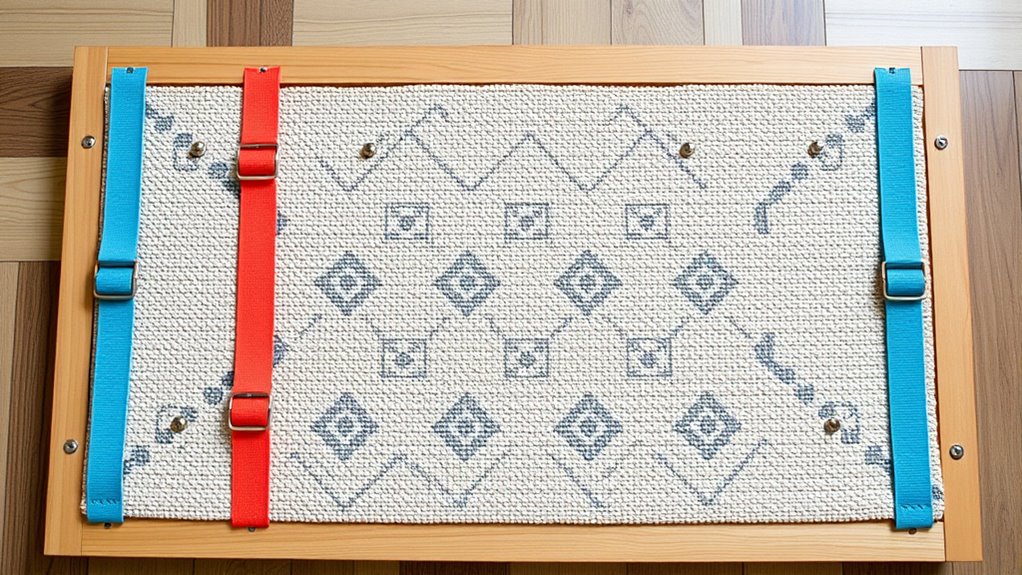
Creating adjustable restraints for rugs is key to maintaining the desired shape during blocking, especially when working with irregular or delicate pieces. Proper restraints help prevent fraying edges and minimize color bleeding, ensuring your rug stays intact and vibrant. Use lightweight straps or adjustable clips to secure the rug, allowing for precise tension control. This flexibility helps you shape the rug without overstressing fragile fibers. Keep in mind that even with restraints, it’s best to work on a clean, flat surface and monitor tension regularly. Additionally, understanding the importance of physical sensations in somatic therapy can help you become more attuned to the tension and relaxation in your materials, leading to better shaping outcomes.
Assembling and Securing Components
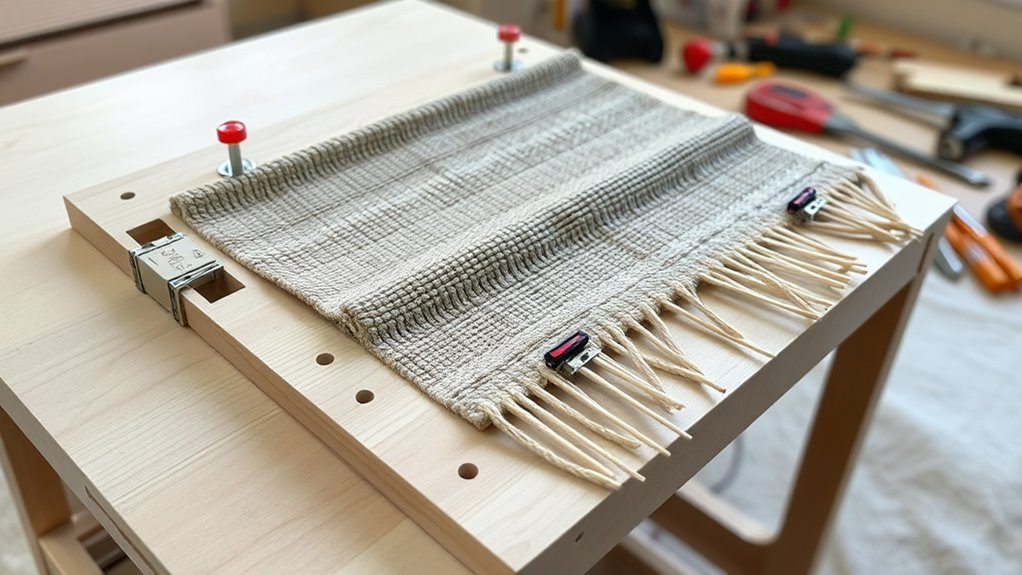
When assembling your blocking board, make sure you align all components precisely to keep everything straight. Use clamps to hold pieces securely in place as you work, so nothing shifts during assembly. You can also consider safety standards when selecting tools and materials to ensure a secure build. Implementing sustainable materials can also enhance the durability and environmental friendliness of your setup. Additionally, evaluating testing methodologies helps verify that your setup functions correctly before use. Finally, guarantee the entire setup is stable and steady before you start drying, to prevent any movement that could ruin your work. Incorporating quality materials can also improve the durability and stability of your setup.
Aligning Components Precisely
How can you guarantee your components are perfectly aligned during assembly? The key is focusing on clamp placement and measurement accuracy. First, ensure your measuring tools are precise and double-checked before starting. Next, pay close attention to clamp placement, applying them evenly to avoid shifting components. Additionally, using accurate measurement techniques helps achieve precise alignment. Proper clamping pressure ensures components stay securely in place without causing deformation. Regularly verifying alignment throughout the process by comparing your setup to a straightedge or guide is also essential to maintain accuracy. Incorporating air purifier technology insights can also inform more precise assembly methods, ensuring optimal component positioning.
Securing With Clamps
To securely hold your components in place during assembly, clamps are essential tools that guarantee stability and accuracy. Proper clamp placement is crucial; position them evenly along the edges to apply uniform pressure without distorting the rug. Be sure to avoid overtightening, as this can damage fibers or cause uneven tension. Adjust the tension carefully to ensure the components stay firmly in position without causing unnecessary stress. Check that each clamp holds the fabric flat and aligned as desired. Consistent tension adjustment across all clamps ensures an even hold, which is vital for a smooth, professional finish. When using clamps with different types of materials, such as headphones or other sensitive components, ensure that the pressure applied does not cause damage. Additionally, inspecting clamp types and their suitability for various materials can help prevent unintended damage. Once all clamps are in place and tensioned properly, you’re ready to proceed confidently with your repair, knowing everything is securely held for the next steps.
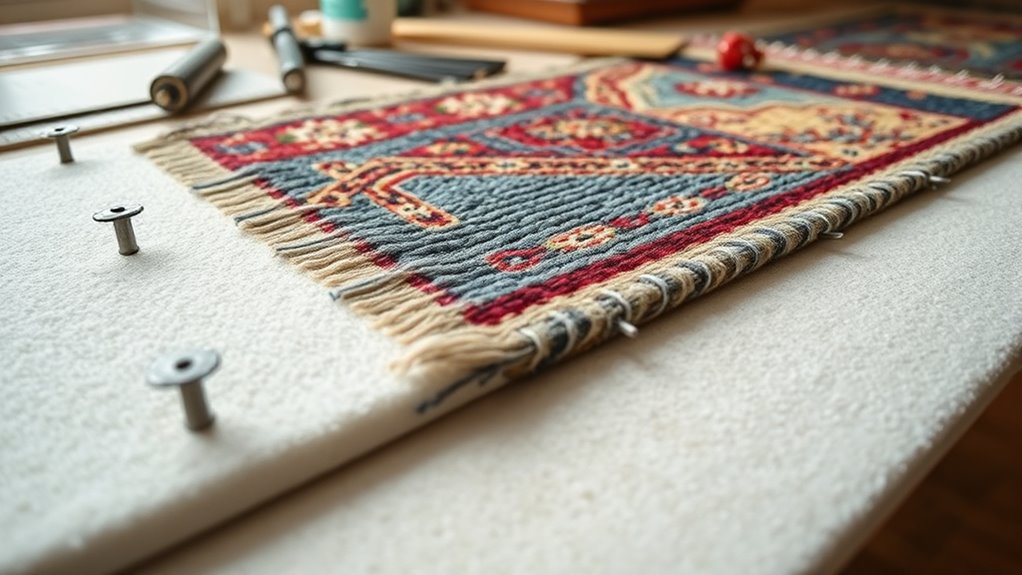
Ensuring Stability During Drying
Ensuring stability during drying is essential to achieve a smooth, professional finish. To prevent movement that can distort your rug, follow these key steps. First, use proper clamp techniques to secure your rug evenly, avoiding overly tight or loose clamps. Second, check the recommended drying times for your adhesive or materials—rushing can compromise the results. Third, periodically inspect the rug during drying to confirm it remains flat and stable. Keep in mind that stability depends on evenly distributed pressure and patience. By carefully applying clamps and adhering to drying times, you minimize shifting and ensure a flawless repair. This approach guarantees your rug dries smoothly, with a professional appearance that lasts.
Tips for Using Your DIY Blocking Board Effectively
Using your DIY blocking board effectively starts with preparing your yarn project properly. Ensure your project is clean and damp before pinning, which helps shape it accurately. Use proper storing techniques afterward to keep your project in good shape, like wrapping it in breathable fabric or storing in a cool, dry place. Consistent maintenance tips include cleaning your board regularly and checking pins for rust or wear. To make pinning easier, organize your pins by size and type. Below is a quick guide:
| Storing Techniques | Maintenance Tips | Pin Organization |
|---|---|---|
| Use breathable covers | Clean after each use | Sort by size/types |
| Keep in dry areas | Replace rusted pins promptly | Store in labeled containers |
| Avoid moisture | Check for damage regularly | Keep pins accessible |
Applying these tips ensures your DIY blocking board remains effective and prolongs its lifespan.
Frequently Asked Questions
What Types of Rugs Are Best Suited for DIY Blocking?
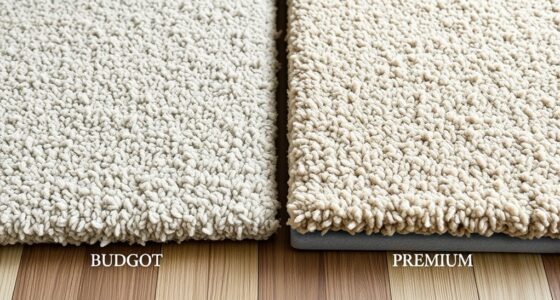
When considering DIY blocking, you should focus on rug types that are flexible and easy to manipulate. Wools and cottons are ideal due to their material considerations, as they respond well to stretching and shaping. Larger rugs are more suitable because they benefit most from blocking to restore shape, while smaller rugs might not need it as much. Always assess rug size suitability and material properties before starting your DIY blocking project.
How Do I Prevent Damage to Delicate Rug Fibers?
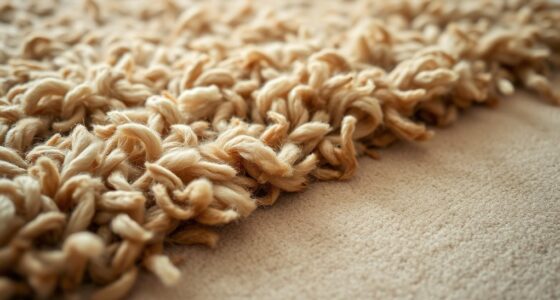
You protect delicate rug fibers by practicing gentle handling, avoiding tugging or stretching, and keeping fibers clean. Use fiber protection techniques, like placing a soft cloth between your hands and the rug, to minimize damage. Be mindful of the rug’s material, adjusting your approach accordingly, and work slowly to prevent fraying or tearing. With patience and care, you guarantee your rug stays vibrant and intact, preserving its beauty for years.
Can I Use Recycled Materials for My Blocking Board?
Yes, you can use recycled materials for your blocking board, making it an eco-friendly option. Look for sturdy, flat recycled items like old cardboard, foam, or cork boards. Just guarantee they’re clean and smooth to avoid damaging your rug fibers. Recycled materials are cost-effective and sustainable, so they’re great choices for eco-conscious projects. Always verify the durability and surface evenness to protect your delicate rug during blocking.
How Do I Store the Blocking Board When Not in Use?
Imagine your blocking board as a trusty sidekick, ready to assist. When not in use, you should consider smart storage solutions like collapsible designs, which make it easy to tuck away without clutter. Keep it in a dry, cool place, perhaps a closet or under a bed, where it’s protected from dust and damage. With these tips, your board stays in good shape, always ready for your next project.
What Safety Precautions Should I Take During Assembly?
When assembling your blocking board, you should prioritize safety by wearing protective gear like gloves and goggles to prevent injuries. Make certain your workspace is well-ventilated to avoid inhaling fumes from any adhesives or materials used. Keep your area organized and free of clutter to prevent accidents. Always follow manufacturer instructions carefully, and work in a well-lit space to see clearly and avoid mishaps during assembly.
Conclusion
With your DIY blocking board ready, you’ll find rug repairs much easier and more precise. Did you know that properly blocking a rug can extend its lifespan by up to 30%? By following these simple steps, you’ll save money and keep your textiles looking their best. Just remember to use your board carefully and regularly for superior results. Happy rug repairing!