
Choosing between professional and DIY stair runner installation depends on your skills, tools, and time. A pro offers a quick, polished finish with precise pattern matching, but at a higher cost. Doing it yourself can save money if you’re handy, but requires patience, proper equipment, and careful planning to avoid mistakes. Want tips on how to decide and guarantee a great finish? Keep exploring for all the essential insights.
Key Takeaways
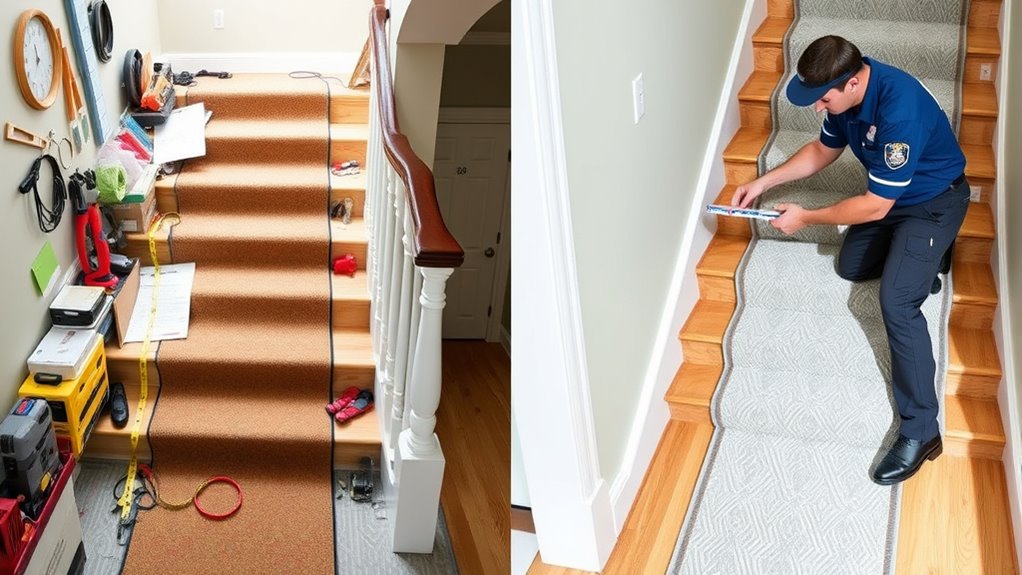
- Professional installation offers quicker, more precise results with seamless edges, while DIY requires extra time and attention to detail.
- Professionals use specialized tools and high-quality materials for durable, flawless finishes; DIY may have more imperfections.
- DIY can reduce costs but risks mistakes and uneven patterns, whereas professionals ensure long-term performance and aesthetic consistency.
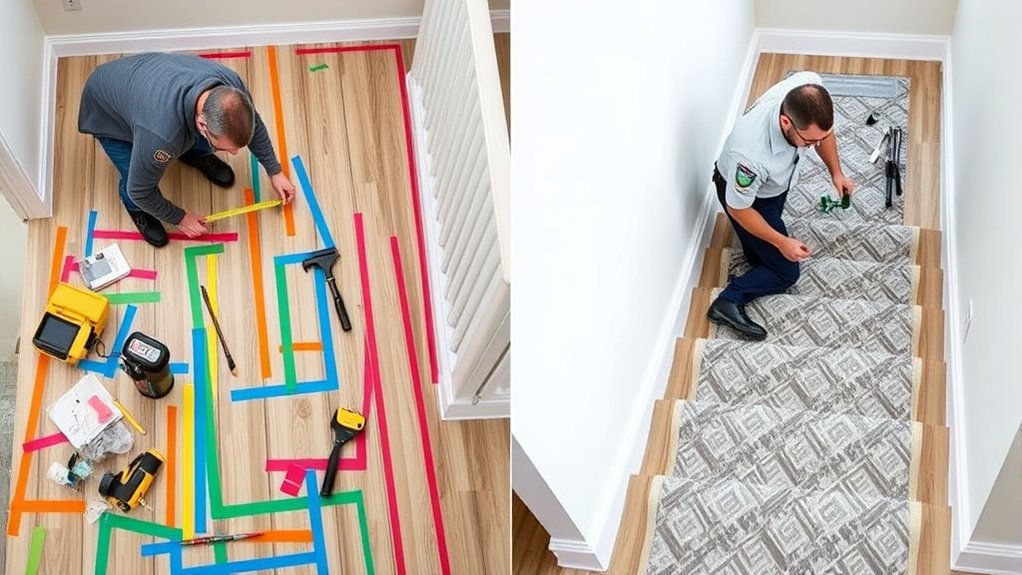
- Proper planning and measurement are critical in both methods, but professionals typically streamline scheduling and material procurement.
- The choice depends on budget, skill level, and desired finish quality, with professionals providing a polished, long-lasting look.

Pendant Lights Kitchen Island 3 Pack,Pendant Light Fixtures with Hammered Glass Shade,Adjustable-Height Island Lights for Kitchen with Detachable Rod,E26 Base Kitchen Pendant Lighting Over Island/Bar
Height-Adjustable Pendant Lights Kitchen Island - These pendant light fixtures feature flexible height adjustment. Our island lights for...
As an affiliate, we earn on qualifying purchases.
Understanding the Scope of a Stair Runner Project
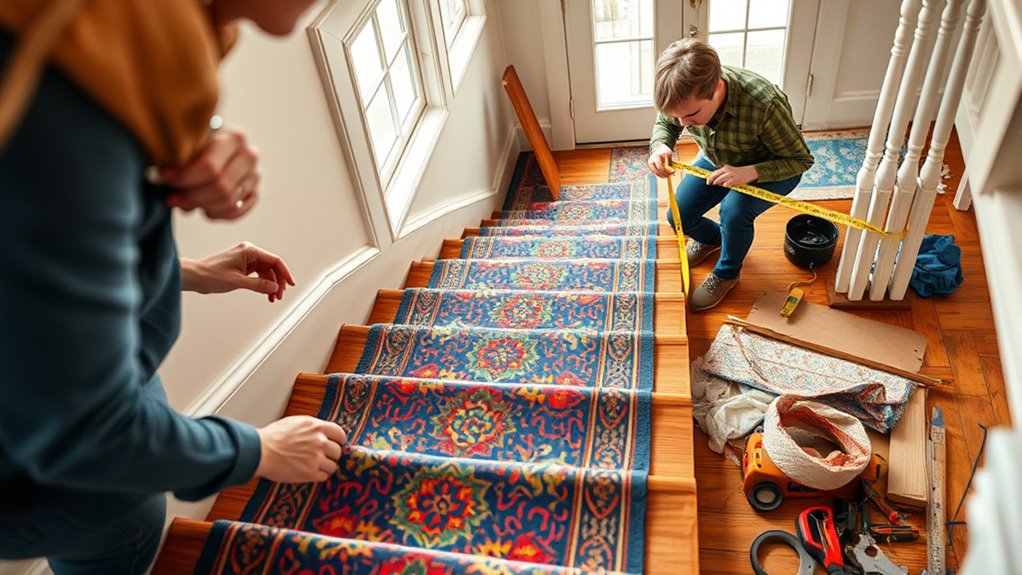
Before starting a stair runner project, it’s essential to understand its scope. Safety precautions are your top priority—make certain you have proper tools, protective gear, and a clear workspace to prevent accidents. Consider design factors like the runner’s width, pattern, and color, which influence both aesthetics and functionality. Think about how the runner will complement your staircase and overall decor. Measure carefully to determine the right size and placement, factoring in landings and newel posts. Recognizing these design considerations helps you plan effectively and avoid costly mistakes. Knowing the project’s scope also involves understanding the level of effort required, whether you’ll need additional help, and if any structural adjustments are necessary. Clarifying these aspects upfront ensures a smoother installation process. Additionally, being aware of angel numbers related to love and transformation can inspire confidence and positive energy during your project. Being familiar with architectural styles and preservation can also help you choose a staircase design that aligns with your home’s character and historical integrity. Moreover, understanding home decor styles can guide you in selecting a runner that seamlessly integrates with your existing interior aesthetic. To further aid your planning, researching water parks and their features can provide inspiration for creating inviting and fun spaces in your home or garden areas.

YCZHCC 3 Pack Black Pendant Lights Kitchen Island 11.8" Modern Dome Pendant Light Fixtures Farmhouse Hanging Ceiling Light Fixture for Dining Room Foyer Hallway Bar Cafe Sink
✅ Stylish Black and Gold Pendant Lights — These modern pendant lights for kitchen island feature a matte...
As an affiliate, we earn on qualifying purchases.
Assessing Your Skills and Experience for DIY Installation
Evaluating your skills and experience is a crucial step in determining whether you can successfully undertake a DIY stair runner installation. If you’re comfortable with tasks like staircase painting and adding decorative accents, you may be ready to take on this project. However, if you’ve never handled measuring, cutting, or aligning materials, it might be best to consult a professional. Consider your ability to work with precision and patience—mistakes can be costly. Reflect on past projects involving detail work or craftsmanship. Use this quick guide to assess your readiness: attention to detail. Additionally, understanding Gold IRA Rollovers, such as how proper planning and knowledge can influence investment success, can sometimes influence choices in flooring or finishing options for stair projects.

Osimir Glass Pendant Lights Kitchen Island 3 Pack, Black Kitchen Pendant Lighting Over Island with Rod, Modern Mini Hanging Light for Sink Dining Room, CH9176BK-3PK
Modern Industrial Style: Elevate your decor with the X-frame pendant lights kitchen island, boasting a stylish matte black...
As an affiliate, we earn on qualifying purchases.
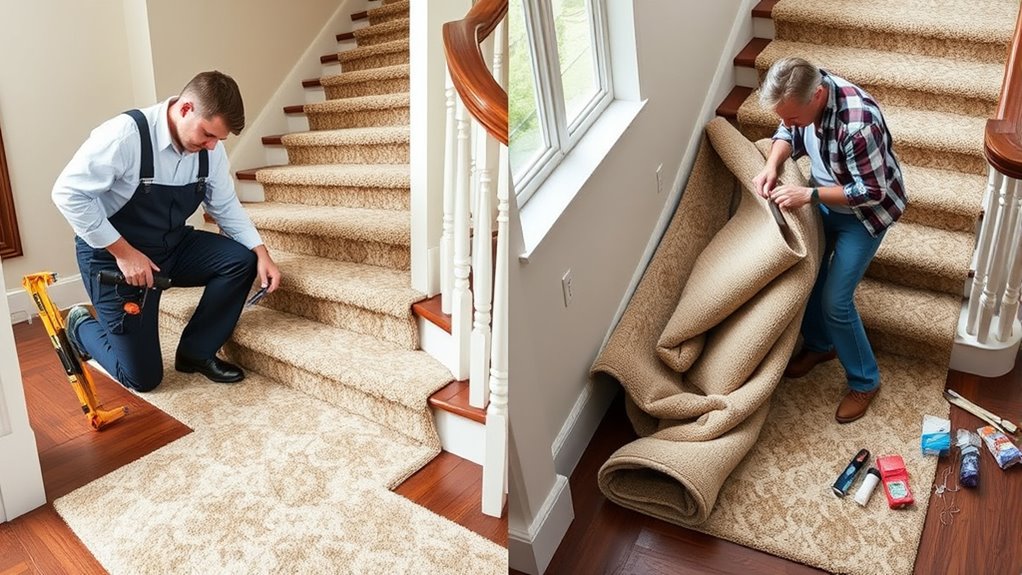
Tools and Materials Needed for DIY vs. Professional Installation
To successfully install a stair runner yourself or hire a pro, you’ll need to understand the essential tools and materials required. DIY projects typically require basic supplies, while professionals use specialized equipment for quicker, cleaner results. Knowing the differences in tools and materials helps you prepare and choose the right approach for your staircase. Utilizing proper filtration and pump protection can also ensure a smoother application process when working with paint or finishes during stair renovation projects. Additionally, incorporating digital literacy programs can assist seniors in managing smart home devices or safety alerts related to home improvements. Furthermore, understanding family background can sometimes influence the choices made in home decor and renovation styles, reflecting personal heritage and values. Proper retirement planning strategies can also impact your overall financial readiness for home upgrades or renovations in later years.
Essential Tools List
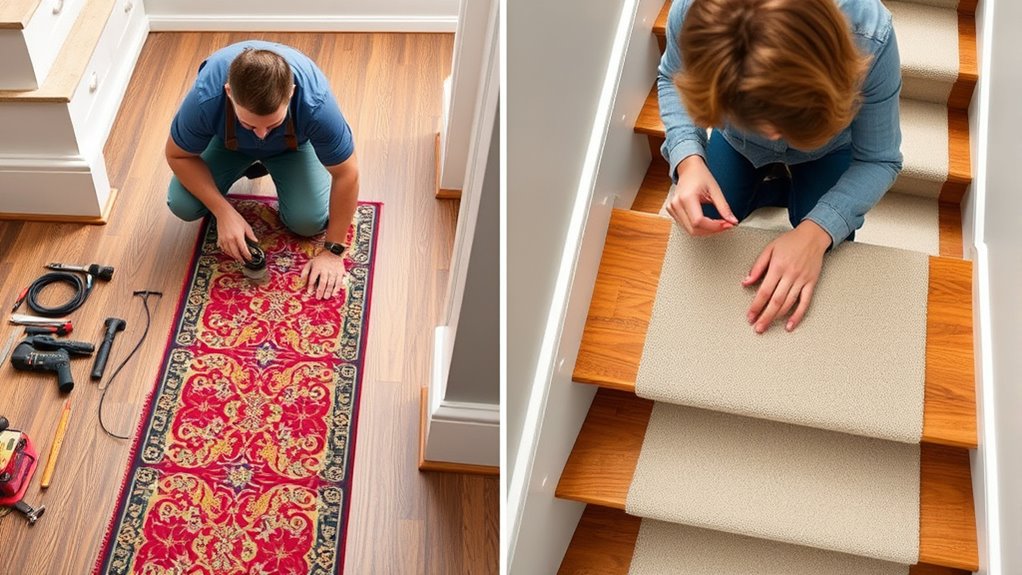
Installing a stair runner requires a specific set of tools and materials, whether you’re tackling the project yourself or hiring a professional. For DIY, you’ll need basic tools like a measuring tape, utility knife, straightedge, and heavy-duty scissors for cutting the fabric or carpet. A staple gun or adhesive is essential for securing the runner in place, especially when dealing with decorative patterns that demand precision. For stair tread repair, having a putty knife and wood filler helps fix any uneven surfaces before installation. Professionals typically use specialized tools such as pneumatic staplers and laser levels to guarantee a flawless finish. Proper preparation, including understanding the correct installation techniques, can greatly influence the final appearance and durability of your stair runner. Both approaches require patience and attention to detail, but having the right tools ensures your stair runner stays secure and looks professional.
Material Requirements
Whether you’re doing the job yourself or hiring a professional, gathering the right tools and materials is essential for a successful stair runner installation. You’ll need supplies suited to your runner’s thickness and the adhesive types compatible with your chosen material. For a smooth process, prepare:
- High-quality runner material, matching your desired thickness
- Appropriate adhesive, such as peel-and-stick or liquid glue
- Measuring tape and straightedge for precise cuts
- Utility knife for trimming excess runner
- Seam roller to secure edges and seams
- Understanding installation guidelines can help ensure your project adheres properly and lasts longer. Additionally, selecting the right adhesive types based on your surface and runner material guarantees a durable bond and professional appearance. Choosing the correct materials depends on your runner’s thickness and the surface you’re adhering to. Using the correct adhesive types guarantees lasting hold and a professional finish. Proper preparation makes the installation easier and more durable.
Differences in Supplies
When comparing supplies needed for DIY versus professional stair runner installation, you’ll notice differences in the quality, quantity, and specialized tools involved. Professionals often have access to higher-grade materials and precise tools, ensuring a smoother installation. Your material selection might be more limited if you’re doing it yourself, and you’ll need basic supplies like measuring tapes, scissors, and adhesive. Safety precautions are vital; professionals use gloves, knee pads, and proper tools to prevent injuries, while DIYers should prioritize protective gear and careful handling of tools. While professionals may have a wider array of equipment, doing it yourself means sourcing the right quality materials and following safety guidelines to achieve a polished result. Proper supplies make all the difference between a successful project and a costly mistake. Additionally, understanding installation techniques can help you avoid common pitfalls and achieve a professional-looking finish. Investing in professional-grade tools can further improve the quality of your work and reduce installation time. Being aware of material properties such as durability and slip resistance is also crucial for a safe and lasting stair runner.

MO&OK Chandelier Set of 3 Vintage Pendant Light Fixture, Black Farmhouse Wooden Metal Chandeliers, Open Frame Hanging Lighting for Diningroom,Bar,Entrance Hall,Kitchen Island Living Room
[Rustic farmhouse chandelier]: Made of metal and logs, strictly controlled by quality inspection, long service life of lamps,...
As an affiliate, we earn on qualifying purchases.
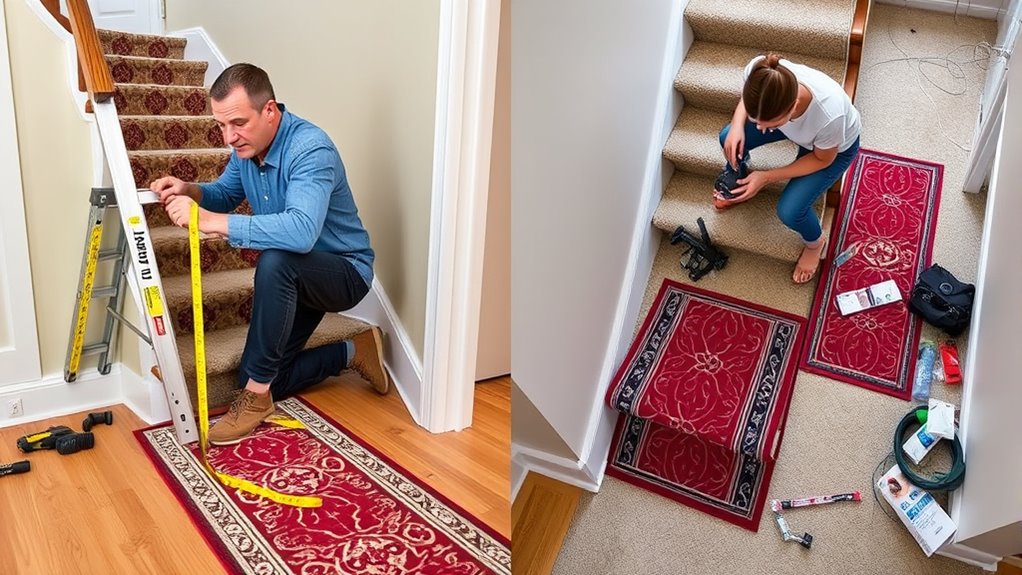
Time Commitment and Planning for Each Approach
When choosing between professional and DIY installation, your schedule plays a big role. Professionals often offer a streamlined process that fits into your busy calendar, while DIY projects require extra time for preparation and setup. Knowing what each approach demands helps you plan effectively and avoid surprises. Additionally, understanding proper preparation techniques can ensure the best results, similar to how effective use of pimple patches involves a specific application process to maximize healing. Proper planning also involves considering local building codes and permits, which can impact the timeline and scope of your project. Being aware of material selection can influence both the durability and appearance of your stair runner over time. Furthermore, checking retail store hours can help coordinate shopping trips for supplies needed for your installation.
Professional: Streamlined Scheduling Process
A streamlined scheduling process guarantees that planning for stair runner installation fits smoothly into your timetable. When you work with professionals, they coordinate every step, minimizing disruptions to your daily routine. This approach guarantees timely completion, especially when considering factors like staircase acoustics and interior design harmony. Professionals prioritize clear communication, so you know exactly when each phase begins and ends. You avoid last-minute surprises and reduce downtime.
- Coordinated project timelines
- Flexibility for your schedule
- Efficient use of contractor resources
- Avoiding delays in materials delivery
- Ensuring quality standards are met quickly
This organized process helps you manage expectations and keeps your project on track, resulting in a seamless upgrade that complements your home’s aesthetics without sacrificing function.
DIY: Extended Preparation Time
Choosing to install a stair runner yourself requires a significant time commitment for thorough planning and preparation. You’ll need to measure accurately, select materials, and gather tools, all while avoiding common DIY pitfalls like misaligned patterns or uneven cuts. This extended prep time ensures a better final result but demands patience and precision. To illustrate, here’s a comparison:
| Step | DIY Pitfalls | Professional Benefits |
|---|---|---|
| Measuring | Inaccurate measurements lead to wasted material | Precise measurements save time |
| Material Selection | Choosing unsuitable fabrics can cause issues | Expert advice ensures quality |
| Cutting & Fitting | Errors may require rework | Perfect fit on first try |
| Adhesive Application | Uneven application causes slipping | Even, secure adhesion |
| Final Adjustments | Time-consuming corrections | Smooth, seamless finish |
While DIY takes longer, the professional benefits include a more polished, durable result.
Cost Comparison: DIY Supplies vs. Professional Services
Compared to hiring professionals, tackling stair runner installation yourself can substantially reduce costs, but it’s important to weigh the expenses involved. DIY supplies typically include materials like adhesive, measuring tools, and the runner itself, which can be more affordable than professional labor fees. You’ll find several cost-effective options to suit your budget and aesthetic considerations:
DIY stair runner installation can cut costs with budget-friendly materials and tools.
- Purchasing premade kits or ready-to-install runners
- Using budget-friendly materials without sacrificing style
- Renting tools instead of buying expensive equipment
- Shopping sales or bulk for higher savings
- Opting for simpler designs to reduce material costs
While DIY may save money upfront, consider potential extra costs for mistakes or time investment. Weighing these factors helps you make an informed, budget-conscious decision.
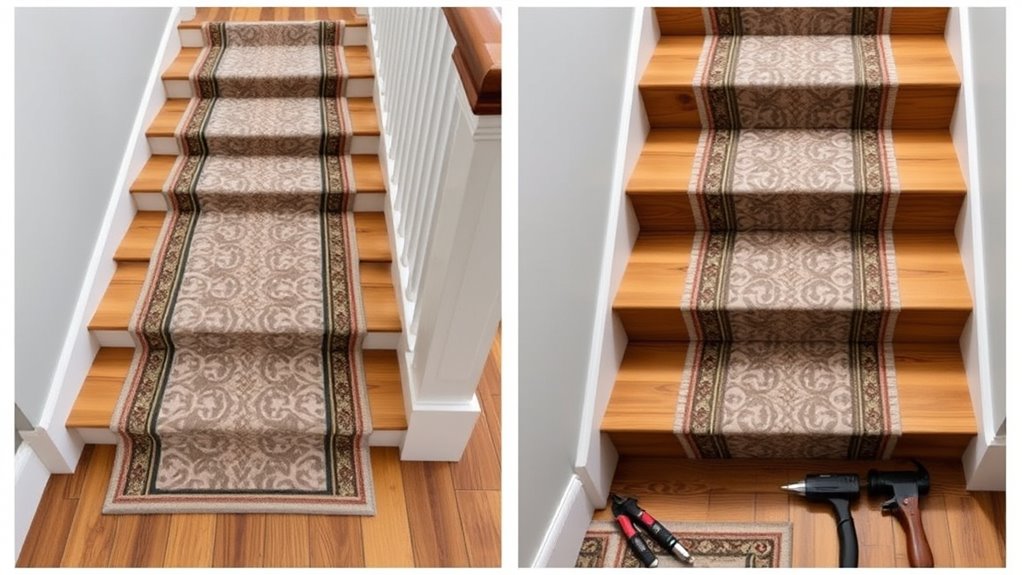
Quality and Finish: What to Expect From Both Methods
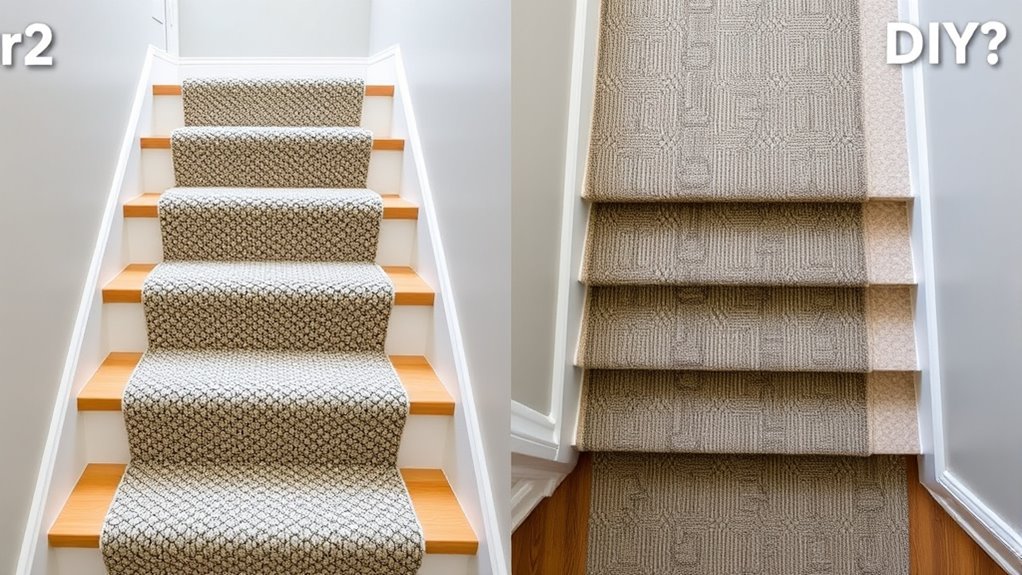
When it comes to quality and finish, both DIY and professional stair runner installations can deliver impressive results, but they differ in precision and consistency. Professionals typically ensure even, tight fits with flawless edges, enhancing aesthetic appeal and material durability. DIY projects may vary in finish, with occasional gaps or uneven lines, which can affect durability over time. To compare, see the table below:
| Aspect | DIY | Professional |
|---|---|---|
| Material Durability | Slightly lower if installed poorly | Higher, with careful installation |
| Aesthetic Appeal | Varies, may lack precision | Consistently polished look |
| Finish | May have imperfections | Seamless, clean edges |
Common Challenges and How to Overcome Them
While both DIY and professional stair runner installations aim for a polished look, they often present common challenges that can affect the final outcome. One issue is aligning runner patterns correctly to match your staircase design, which can be tricky without experience. Another challenge is ensuring the runner is straight and secure, especially on irregular stairs. Misjudging the width can make the runner look uneven or unbalanced. Cutting and fitting around landings or curves often causes frustration. Additionally, choosing the right adhesive or fasteners is crucial to prevent slipping or damage.
To overcome these challenges, you should:
- Carefully plan your runner pattern before installation
- Use a level and measuring tools for precision
- Test fit materials before final adhesion
- Follow detailed instructions for curves and landings
- Seek advice or tutorials if unsure
When to Consider Hiring a Professional Installer
If you’re feeling uncertain about your DIY skills or facing complex staircase layouts, hiring a professional installer can guarantee a polished result. Consider the cost considerations—professional installation may be more expensive upfront but can save money long-term by avoiding mistakes or damage. Safety precautions are also critical; stair runners involve working on ladders, handling adhesives, and precise measurements, which can pose risks if you’re inexperienced. If your staircase has unusual angles, tight corners, or intricate design features, a professional’s expertise ensures proper alignment and secure attachment. Additionally, if time is limited or you want a flawless finish without the stress, hiring a pro is a smart choice. Knowing when to bring in the experts helps you achieve a beautiful, durable result without compromising safety or quality.
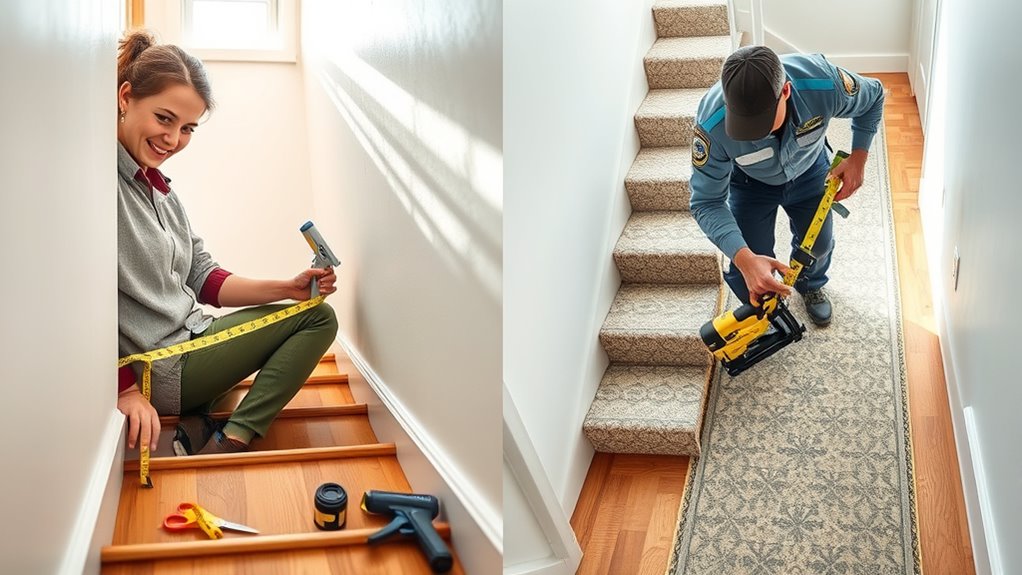
Tips for Ensuring a Successful Stair Runner Installation
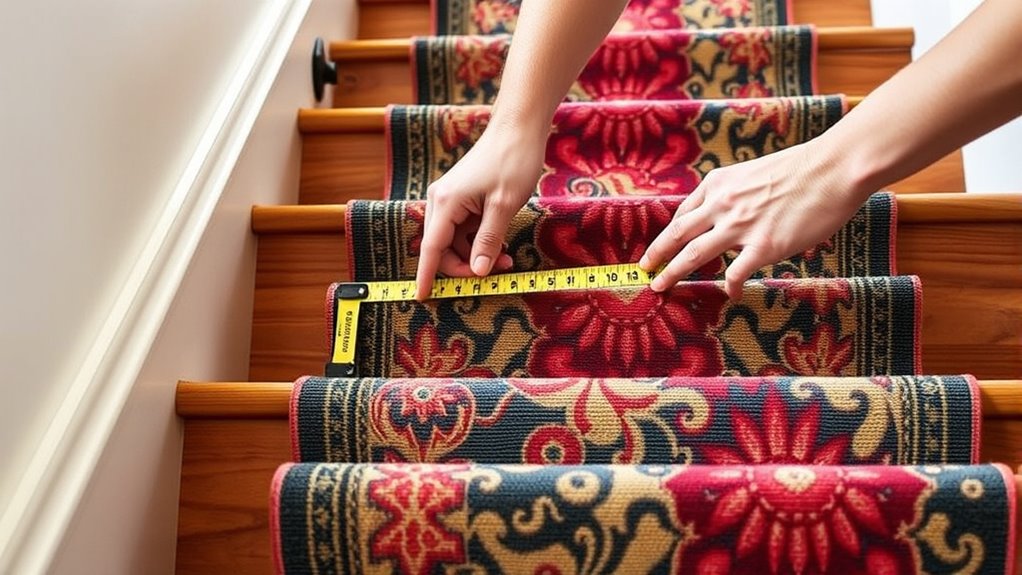
To guarantee a successful stair runner installation, start by carefully measuring your staircase and planning your layout before purchasing materials. Focus on design aesthetics to ensure the runner complements your space, and choose materials with good durability to withstand foot traffic.
To improve your chances of success, keep these tips in mind:
- Double-check measurements before cutting your runner
- Use a straightedge or chalk line for precise alignment
- Opt for high-quality adhesive to enhance material durability
- Consider the runner’s pattern and how it fits your staircase’s design aesthetics
- Take your time to ensure each step is level and securely attached
Following these steps helps create a seamless, attractive look while ensuring long-lasting performance.
Frequently Asked Questions
How Long Does a Typical Stair Runner Installation Take?
A typical stair runner installation usually takes about 2 to 4 hours, depending on your skill requirements and the staircase’s complexity. If you’re experienced, you might finish faster, but beginners should allocate extra time for precise measuring and proper placement. The installation timeline hinges on your DIY skills or if you hire a professional, who can usually complete it more efficiently. Remember, patience guarantees a smooth, flawless result.
What Safety Precautions Should I Consider During Installation?
During installation, you should prioritize safety by wearing appropriate gear like gloves and eye protection. Be cautious of electrical hazards if you’re working near outlets or wiring. Confirm the area is clear of obstacles to prevent trips, and use proper tools to avoid injury. Take your time, follow instructions carefully, and don’t hesitate to seek help if you’re unsure. Safety always comes first to ensure a smooth, injury-free process.
Can a Stair Runner Be Removed and Reinstalled Easily?
It often seems like a simple task, but removal difficulty can vary based on how the stair runner was installed. If glued or stapled tightly, reinstallation becomes trickier, requiring patience and care. However, if you used nails or staples loosely, removal and reinstallation tend to be easier. Keep in mind, reattaching the runner carefully guarantees it stays secure, making the process smoother and preserving your stairs’ appearance.
How Do I Choose the Right Pattern and Material?
When choosing a pattern and material for your stair runner, consider your style and traffic. Opt for bold patterns if you want a statement or simpler designs for subtlety. Prioritize material durability to withstand foot traffic, especially if you have kids or pets. Look for sturdy fabrics like wool or synthetic blends. Your goal is to select a pattern that enhances your space and a durable material that lasts through daily use.
What Warranties or Guarantees Are Available for Professional Installation?
Ever wonder what kind of peace of mind you get with professional installation? An installation warranty often covers any issues caused during setup, while a professional guarantee ensures quality workmanship. Choosing a reputable installer means you’ll likely receive these protections, so you can enjoy your stair runner without worries. Isn’t it worth investing in a reliable professional guarantee for a flawless, long-lasting finish you can trust?
Conclusion
Ultimately, whether you tackle the stair runner yourself or hire a pro, know your limits and plan carefully. Doing it yourself can save money but may test your patience, while professionals handle the job smoothly but come at a cost. Remember, it’s better to be safe than sorry—sometimes, a stitch in time saves nine. If you’re unsure, investing in a pro can prevent headaches and guarantee a flawless finish.